
Upload new files to SharePoint Site and connect files to Jira issue
The SharePoint Connector for Jira allows you to upload files from your computer to a SharePoint Document Library without the need to navigate to SharePoint, directly in Jira.
You are able to upload files
-
or do it inside of the connect dialog
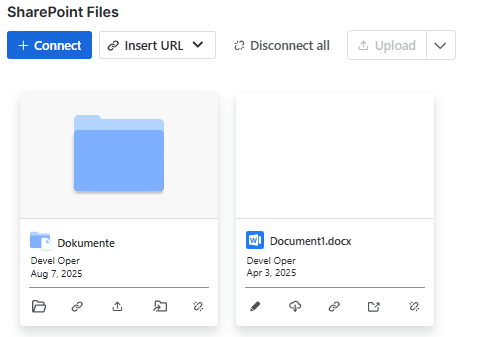
Upload files to embedded folders
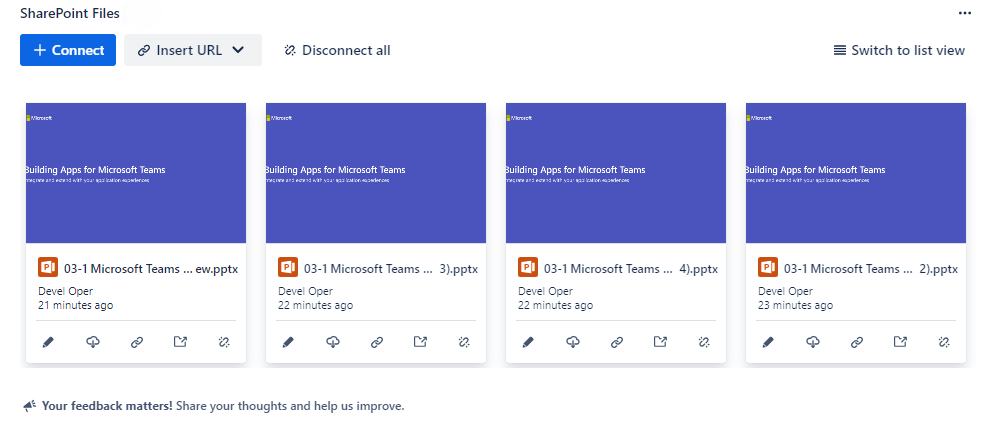
Every embedded folder contains an upload button in the card and the respective list view.

Clicking on the upload button will instantiate a dialog, where you can select your desired files.
Alternatively when you are already inside of the desired location you can use the upload button at the top (1) or easily drag and drop you files into the folder.

Next to the upload button, you can see the status of your uploads via the arrow icon (2).
Please be aware that reloading the page will cancel the uploads and you have to redo the process.
After your uploads finished you will see them in the corresponding folder.
Upload files via the connect dialog
To upload from your computer and connect files to Jira issues follow the guide below:
-
Navigate to the Jira issue where you want to upload and connect files
-
Open the SharePoint Files panel and click on “Connect”

-
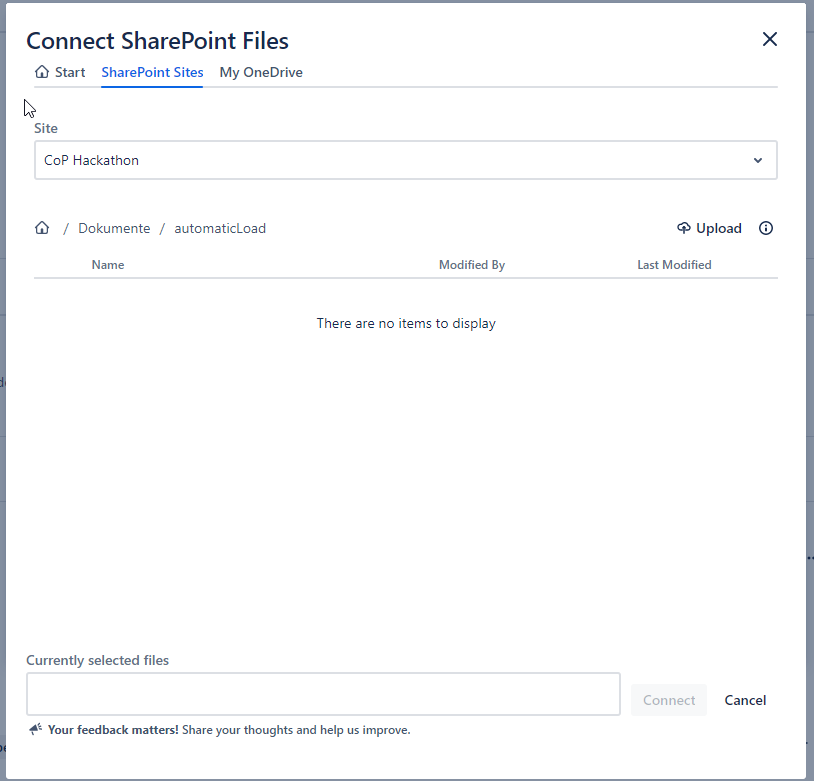
Navigate to the SharePoint Sites tab and select a Site.
-
Navigate to the location you want to upload the files.
-
There are two ways to upload files.
-
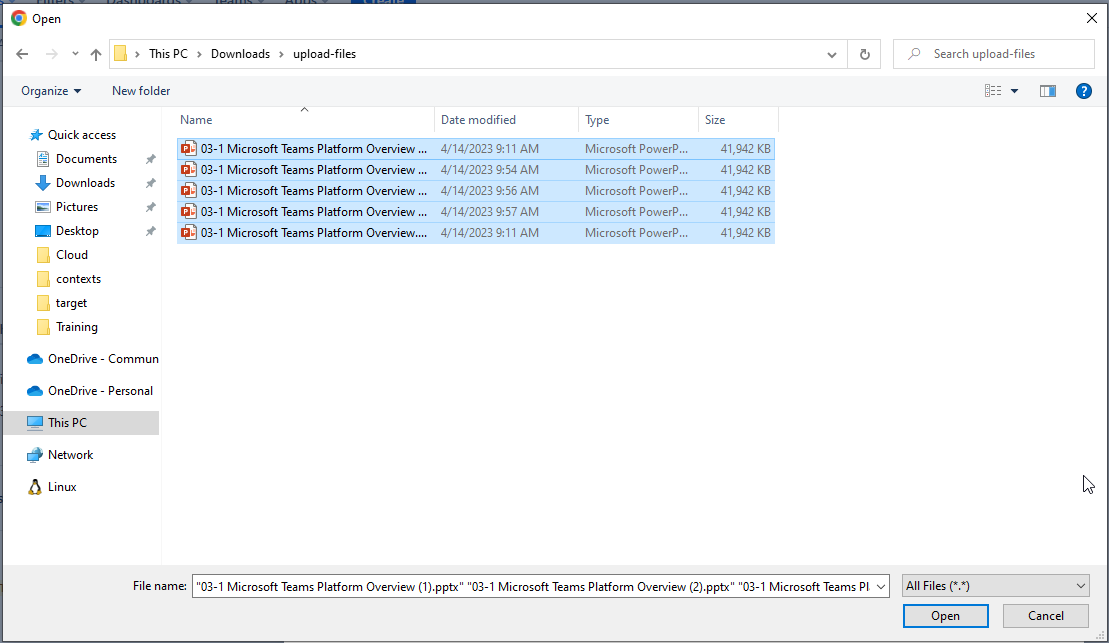
Clicking the “Upload” button on the right upper corner.
-
A dialog opens where you can select the files you want to connect and upload
-
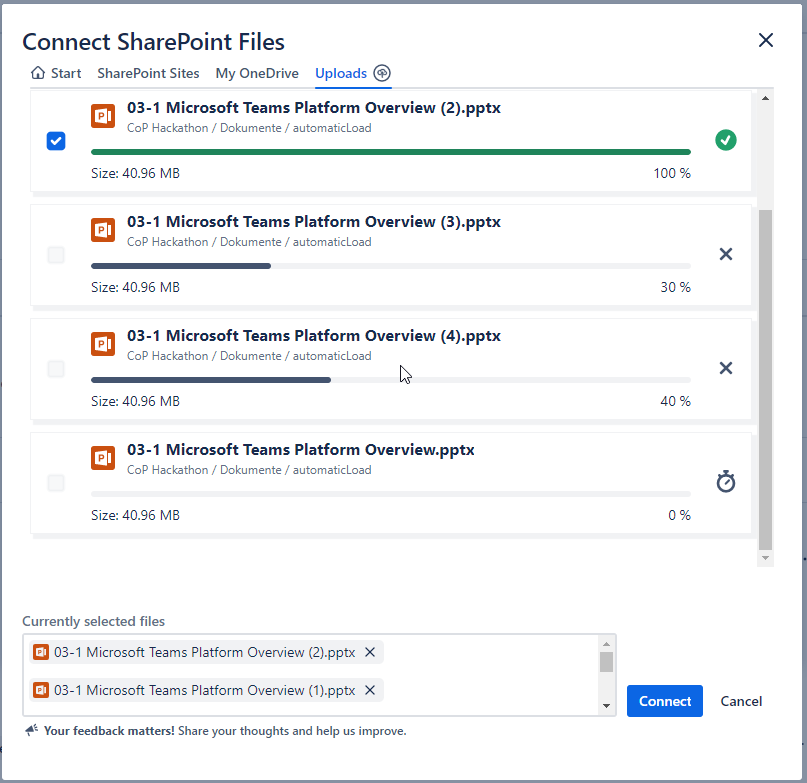
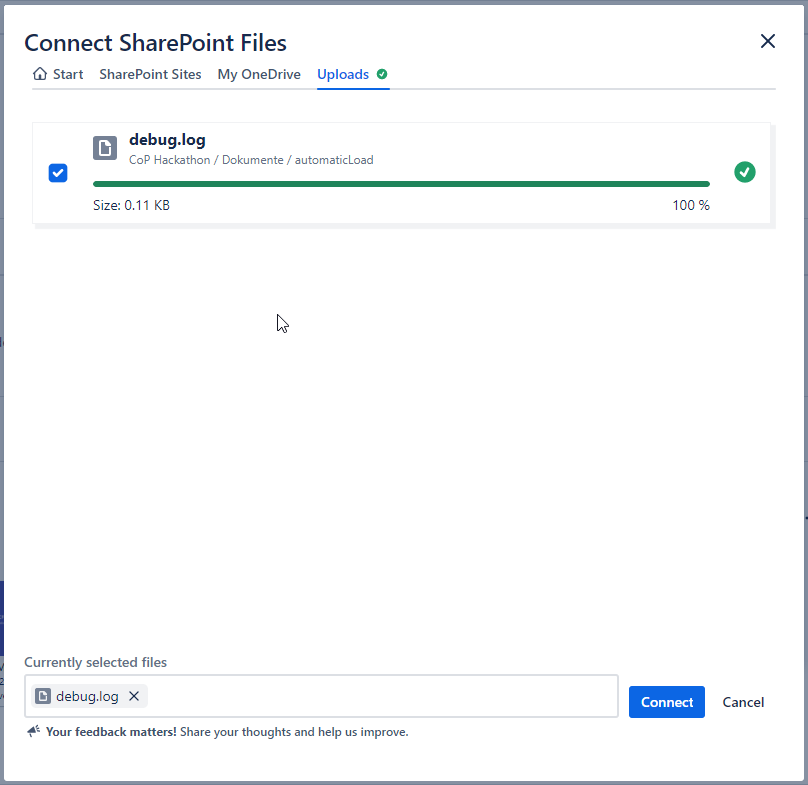
A new tab “Uploads” appears in the dialog where you can track the progress of the files being uploaded
-
Once uploads have finished, the files are already selected and appear in the “Currently selected files” section on the bottom. If you don’t want to connect all the files you uploaded you can deselect them individually by clicking on the “X” icon.
-
Clicking on “Connect” button will connect all uploaded and selected files to the Jira issue
-
-
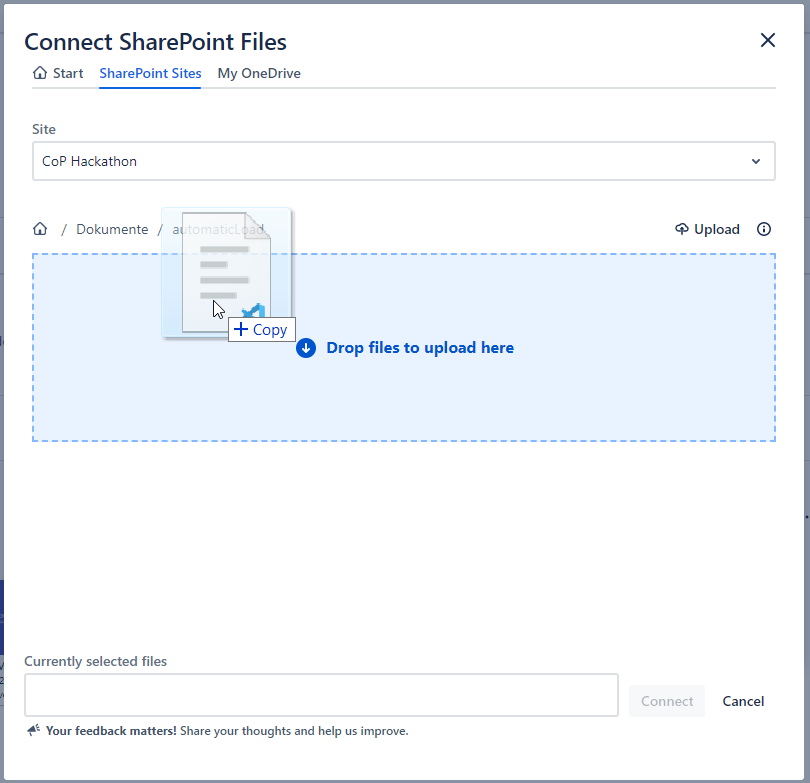
Drag & drop files on the table header
-
Navigate to the desired location (select the Site and location)
-
Drag & drop the files from your pc to the highlighted dropzone
-
Same as before an “Uploads” tab will appear where you can track the status of the file z
-
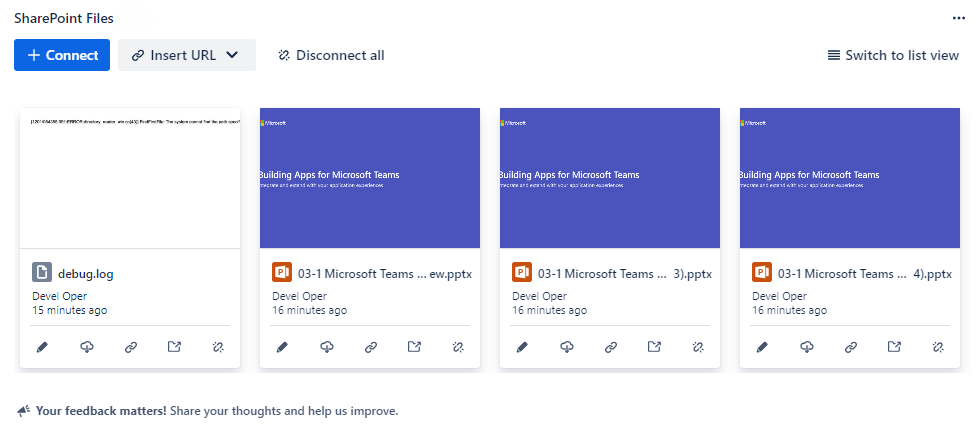
After clicking on “Connect” button the uploaded files will show in the “SharePoint Files” panel of the Jira issue
-
-
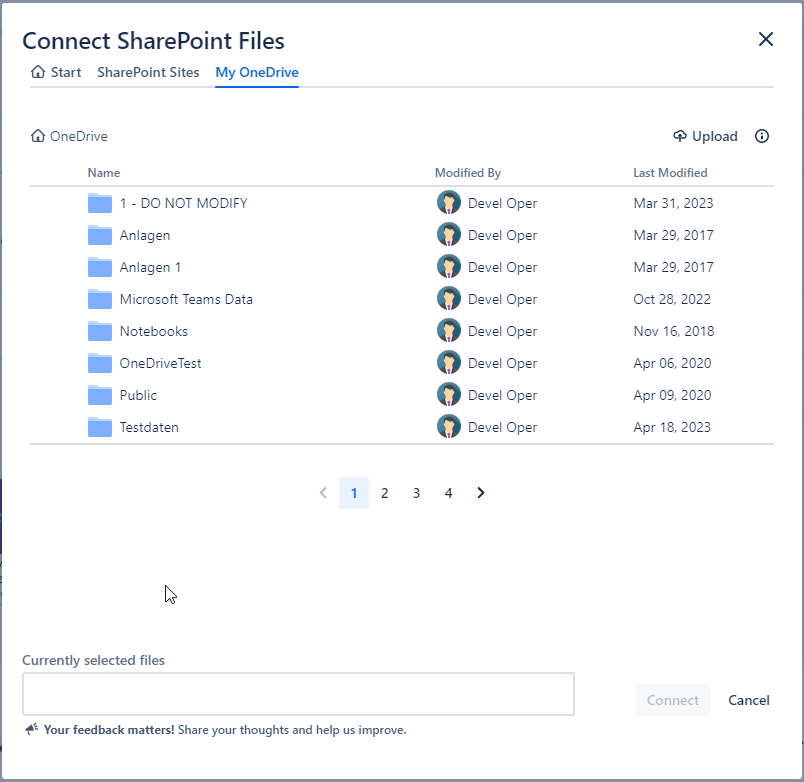
Upload new file to “My OneDrive” and connect files to Jira issue
Similarly to uploading files to a SharePoint Site you can also upload and connect files to your OneDrive. To do so you have to navigate to the “My OneDrive” tab where you can use either the “Upload” button or the drag & drop functionality.
The next steps are the same as described in the SharePoint Sites tab.
What happens in case of errors?
If there were any errors during the upload a corresponding message displays in the Uploads tab. An accompanying warning icon is displayed besides the “Uploads” tab to let you know that something went wrong.
To check what is going wrong you can switch to the “Uploads” tab and see which files were not uploaded.
If the specified file already exists you will be prompted for actions and you can decide how to proceed with this file.

Note: Files that have an error uploading will not be preselected like the ones which were successfully uploaded.