
Import views and add them to Viewtracker reports
There are two options for importing views in Viewtracker Data Center:
-
Import views from the built-in Confluence Analytics
-
Import Viewtracker views collected in another Confluence Data Center instance
How to import views from built-in Confluence Analytics
Viewtracker Data Center can detect view data from the built-in Confluence Analytics in the database and add this data to Viewtracker reports. This allows Viewtracker users to analyze Confluence usage in the time before Viewtracker was installed.
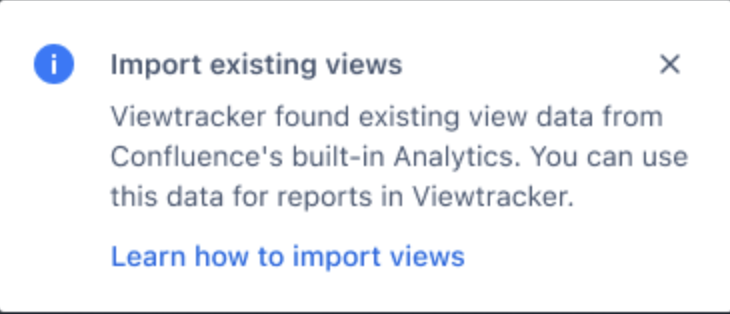
Viewtracker administrators will be prompted to import the existing views after installing Viewtracker:
This will take them directly to the right interface. However, they can also access the menu manually:
-
In the menu “Tracking”, switch to the tab “Import Views”.
.png?cb=d533eeb1edaa5a04b63bc465bb4ad4d4)
-
In the section “Built-in Analytics Data Import”, tap “Yes, start the import” in the info box.
-
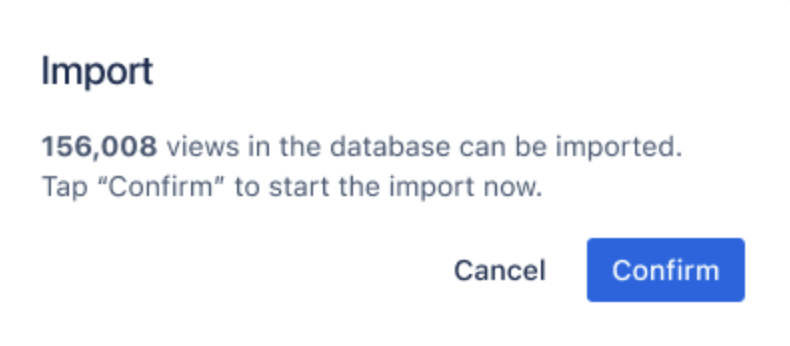
Confirm the overlay indicating the number of views.
-
The import process will start. Wait until it is done or tap “Cancel” to stop the process.

-
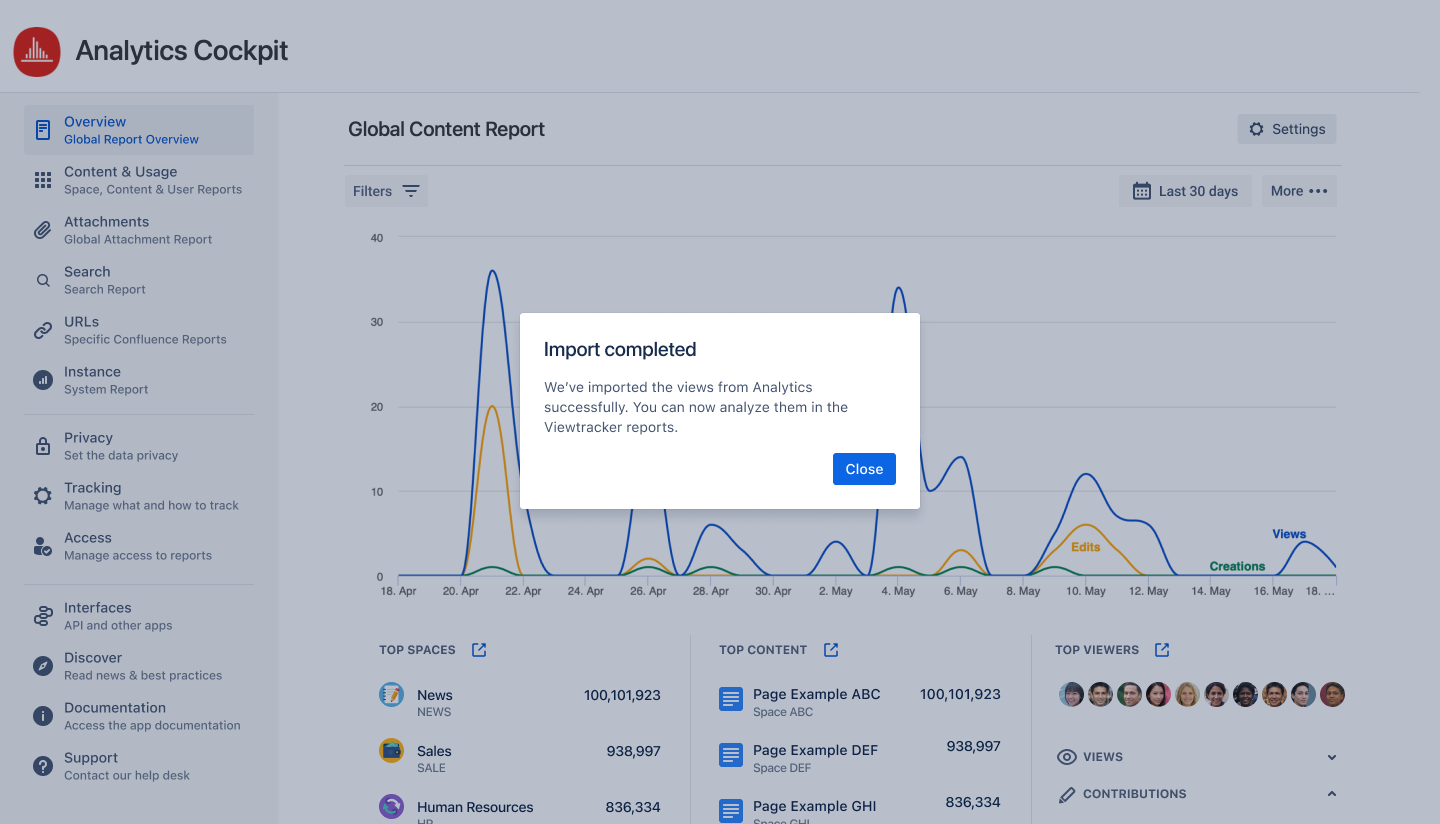
Once the import is complete, you can close the overlay and access the imported data in the various Viewtracker reports.
Import Viewtracker Data Center views via CSV
Use this option to import Viewtracker data from another instance that uses Viewtracker Data Center. This is particularly handy if you migrate from one Confluence DC instance to another.
-
Make sure you have exported all the relevant Viewtracker Views from an existing Confluence instance.
-
In the new Confluence instance, go to the Global Report.
-
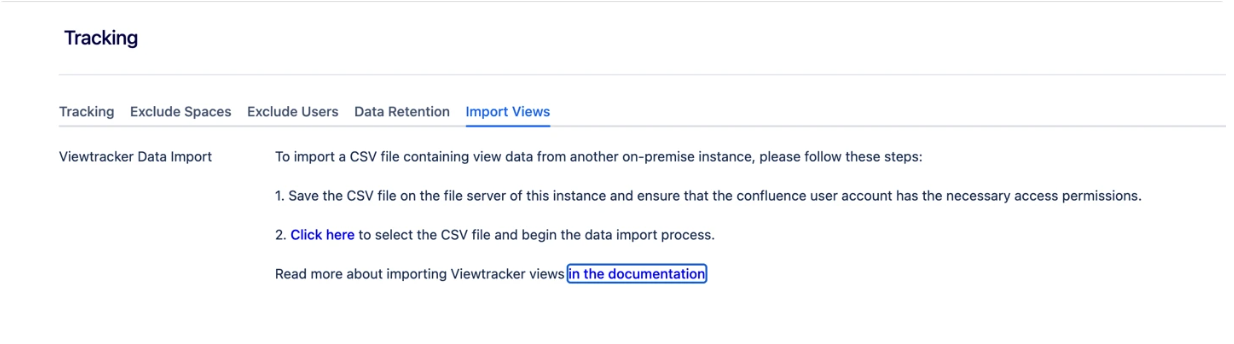
In the menu “Tracking”, switch to the tab “Import Views”.
.png?cb=d533eeb1edaa5a04b63bc465bb4ad4d4)
Confluence 9 and 10: Due to changes by Atlassian in Confluence 9 and 10, the CSV import no longer uses a file picker. Instead, you must provide the file path directly on the server.
-
Save the CSV file on the file server of this instance and ensure that the Confluence user account has the necessary access permissions.
-
Click "Click here" to select the CSV file and begin the data import process.
-
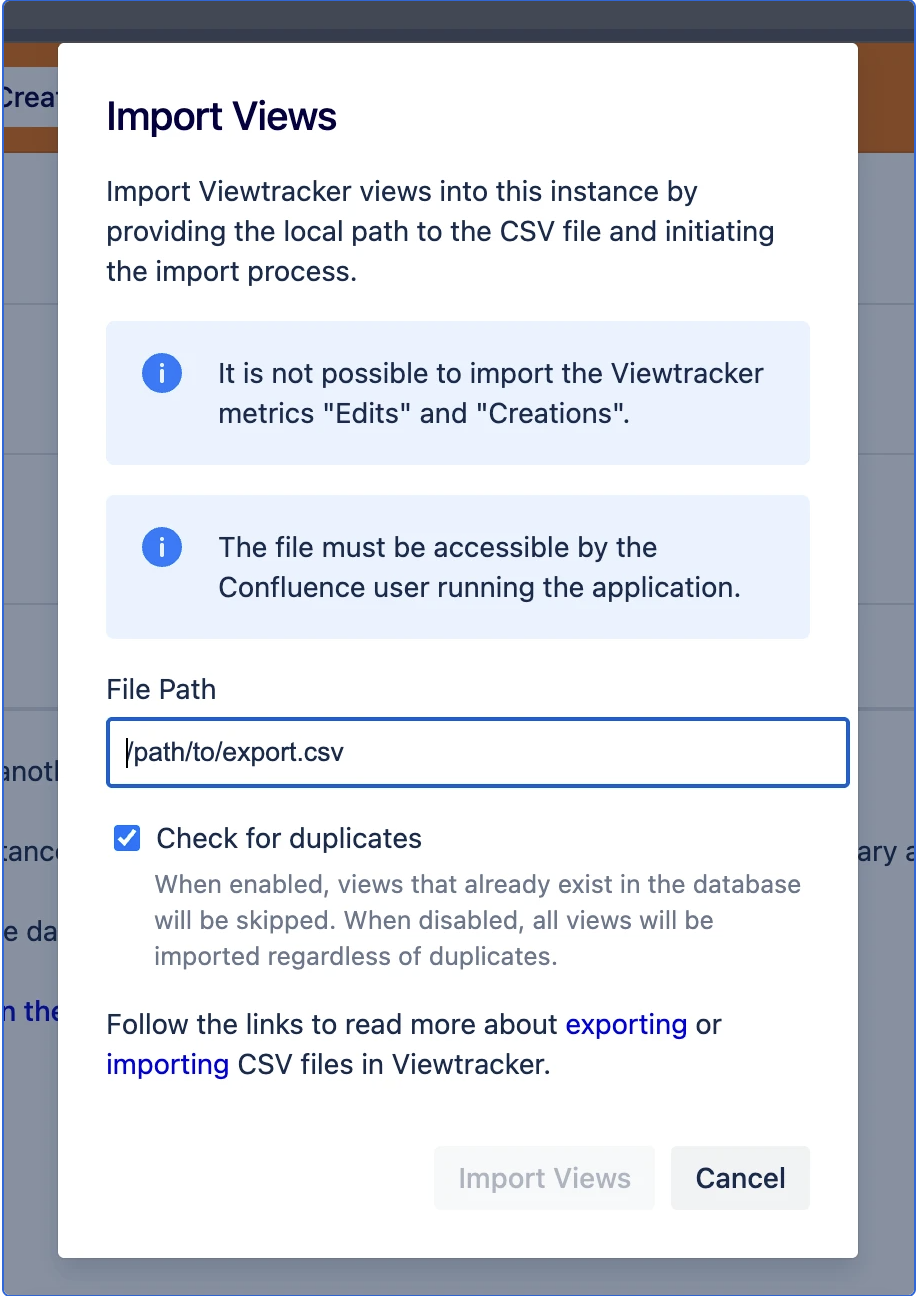
In the "Import Views" dialog that opens, enter the following:
-
File Path: Enter the full local path to the CSV file on the server (e.g.
/path/to/export.csv). The file must be accessible by the Confluence user running the application. -
Check for duplicates: Enable this checkbox to skip views that already exist in the database. When disabled, all views will be imported regardless of duplicates.
-
-
Click "Import Views" to start the import.
-
Wait until the message "x views were imported" appears.
The imported views will automatically appear in the Built-in Reports of Viewtracker.
Related content