Migrating Adv. Panelboxes to Confluence Cloud? Please read the migration guide.
On Advanced Panelboxes for Confluence
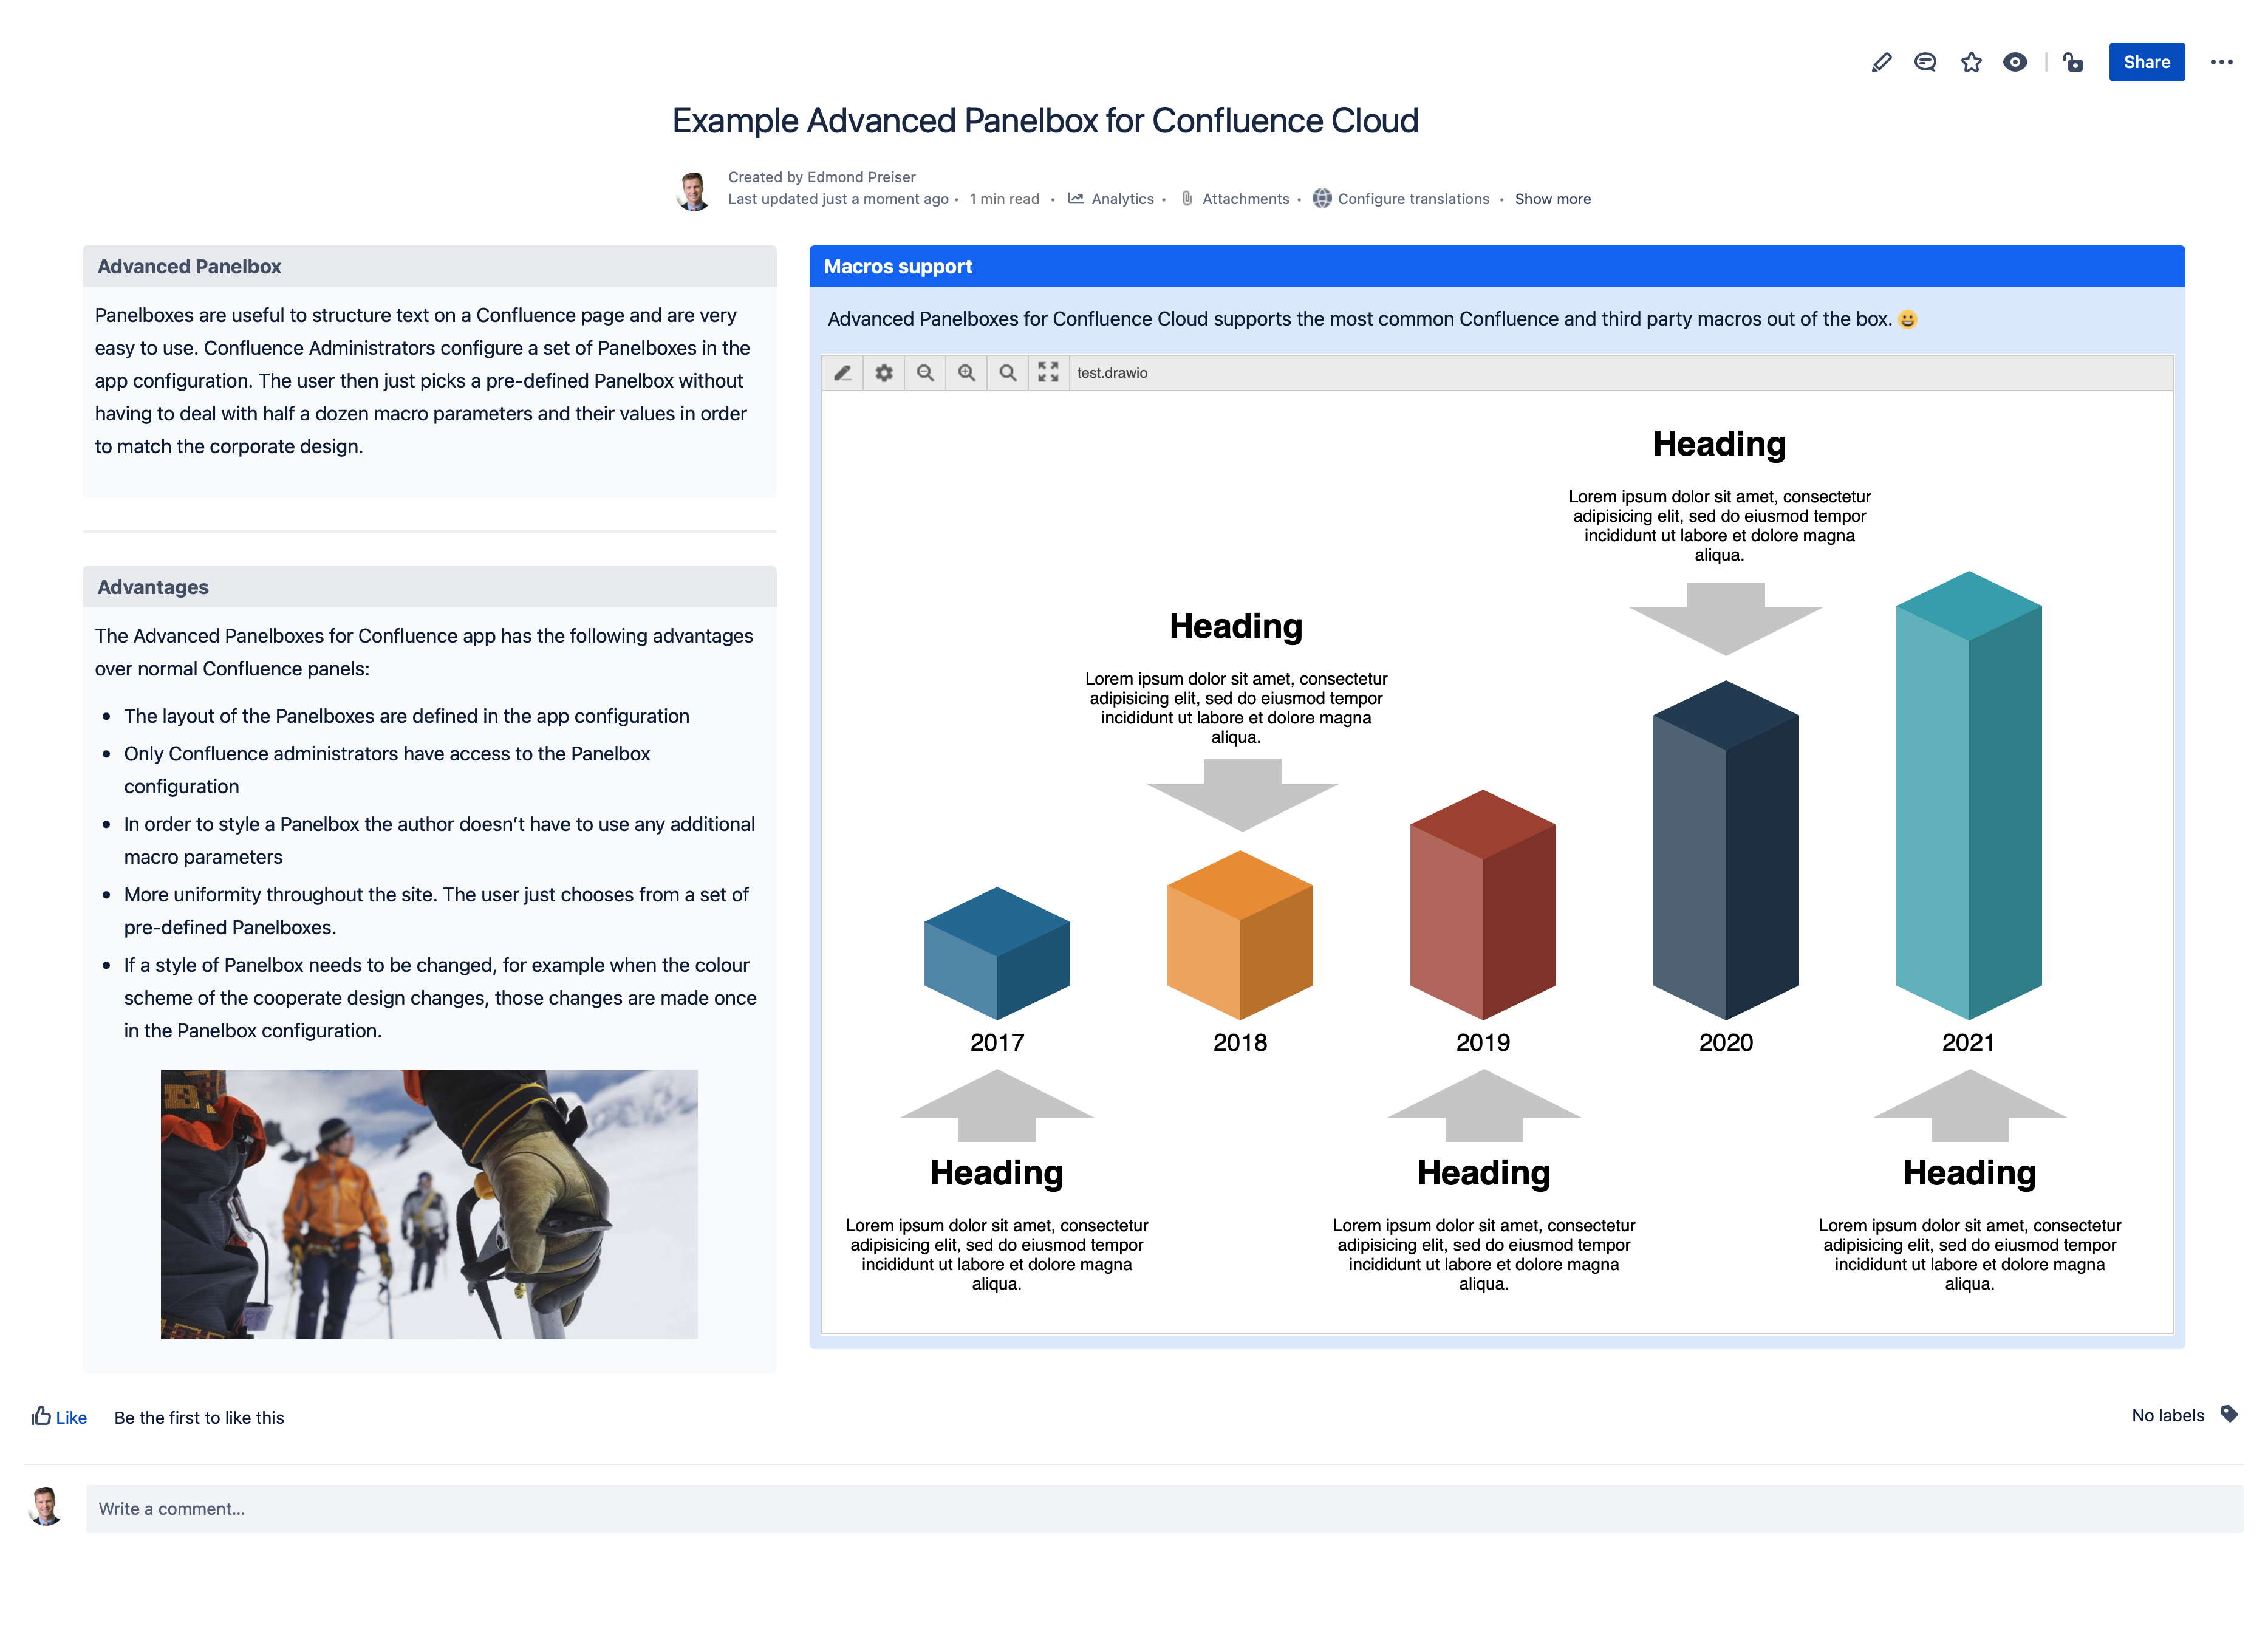
Panel boxes are useful to structure text on a Confluence page.
-
In Cloud, there is no generic panel macro anymore. There are only the standard Confluence panels (info, warning, etc.) that cannot be customized.
-
Using the Advanced Panelboxes for Confluence app, administrators can configure a set of Panelboxes in the app settings that will be available to all editors.
-
Editors can simply pick a predefined box and be sure to match the corporate design.
-
If the style of a Panelbox needs to be changed, those changes are made once in the app configuration. All the corresponding Panelboxes are changed immediately throughout the whole Confluence instance.
Using Advanced Panelboxes
Advanced Panelboxes offers two macros to help you structure your content. While the classic Panelbox macro is perfect for quick, predefined styles, the new Advanced Panelboxes macro provides additional flexibility and modern features.
1. The Panelbox Macro (Classic)
Use this macro to quickly insert a box based on styles predefined by your administrator.
-
In the Confluence editor, type
/panelboxand press Enter
Image 1: Panelbox Macro (click to enlarge) -
In the configuration overlay, select a predefined style from the list (e.g., Red).
-
Optionally, enter a Title and choose the Alignment.
-
Click Insert.
Image 2: Setup Panelbox Macro (click to enlarge) -
Type or paste your content directly into the box in the editor.
Image 3: View of Panelbox in editor (click to enlarge) -
Save your page to see the final result of the Panelbox Macro.
Image 4: Final result of Panelbox Macro (click to enlarge)
Any changes to existing Panelboxes must be carried out by a Confluence Administrator (see guide below). Changes to the original Panelbox configuration will impact all existing Panelboxes on Confluence pages.
2. The Advanced Panelbox Macro
The new Advanced Panelbox macro offers a refreshed interface and advanced features like expandable sections.
-
In the Confluence editor, type
/Advanced Panelboxand select the macro.
Image 5: Advanced Panelbox Macro -
Use the configuration menu to set your preferred design for your Advanced Panelbox.
-
-
Kind: Select your preferred predefined design.
Image 6: Select your predefined style (click to enlarge) -
Colors & border: Customize the visual appearance of the Panelbox. You can adjust the following settings or reset them to the selected kind’s default values:
-
Background color
-
Text color
-
Border color
-
Radius size
Image 7: Customize Colors & borders (click to enlarge) -
Icon & badge: Add an icon or badge to the Panelbox title. Icons appear before the title and use the configured text color. Badges appear after the title and can display custom text. To define the badge color, select the preferred color next to the badge text field.
-
-
-
More options: Expand the More options panel to configure the Panelbox alignment and density. You can also make the Panelbox collapsible and specify whether it should be collapsed by default.
Image 9: More options (click to enlarge) -
Content: Add panel Title, Kicker (a short label above the title) and Subtitle (A summary of the panel content), if wanted.
Image 10: Add content to your Panelbox (click to enlarge) -
Live preview: Review your configuration changes in the live preview. The preview updates automatically as you adjust the Advanced Panelbox settings.
Image 11: Live preview (click to enlarge)
-
-
-
Click Insert on the bottom left of the macro.
-
-
Type or paste your content directly into the box in the editor.
Image 12: Panelbox in the editor (click to enlarge) -
Save your page to see the final result of the Panelbox Macro.
Image 13: Final result of the Advanced panelbox (click to enlarge)
Why use the new macro?
The Advanced Panelboxes macro is built on Atlassian Forge and provides additional customization options for creating and managing panel styles.
Configuring Advanced Panelboxes
You need to be a Confluence Administrator to configure and add Panelboxes.
-
In Confluence Administration, go to Apps and select Advanced Panelboxes to access the settings.
Image 14: Access Settings (click to enlarge) -
You will now see a list of the existing Panelboxes. These have been created when installing the app.
Image 15: Existing Panelboxes (click to enlarge)
Configuring an existing Panelbox
-
Click on the Edit link on the right side of the Panelbox you want to edit:
Image 16: Edit Panelbox -
This will open an editor where you can personalize the Panelbox to your liking.
Image 17: Panelbox editor -
After making changes, you can click Save changes.
-
The new settings will now be applied to all Panelboxes with the name Blue. No need to edit dozens of pages once a setting changes!
Adding a new Panelboxes
-
You can also create new Panelboxes by clicking Create new in the top right.
-
This will open the same editor as when editing a Panelbox; please add a name and add properties (color, border style)
-
When you are happy with the preview, click Create Panelbox.
-
Your new Panelbox may now be used anywhere in your Confluence instance.
Admin note: Advanced Panelboxes has been migrated to the Atlassian Forge platform, which improves security.