
Use these procedures to decide which panel designs authors can select. A design carries a name, colors, and a border style, and it applies to the Panelbox macro across the whole instance.
The app installs a default set. Most teams replace it with designs that match their corporate colors and name them by purpose rather than color.
These designs do not apply to the Advanced Panelbox macro. That macro carries its own layouts and colors.
Configuring Advanced Panelboxes
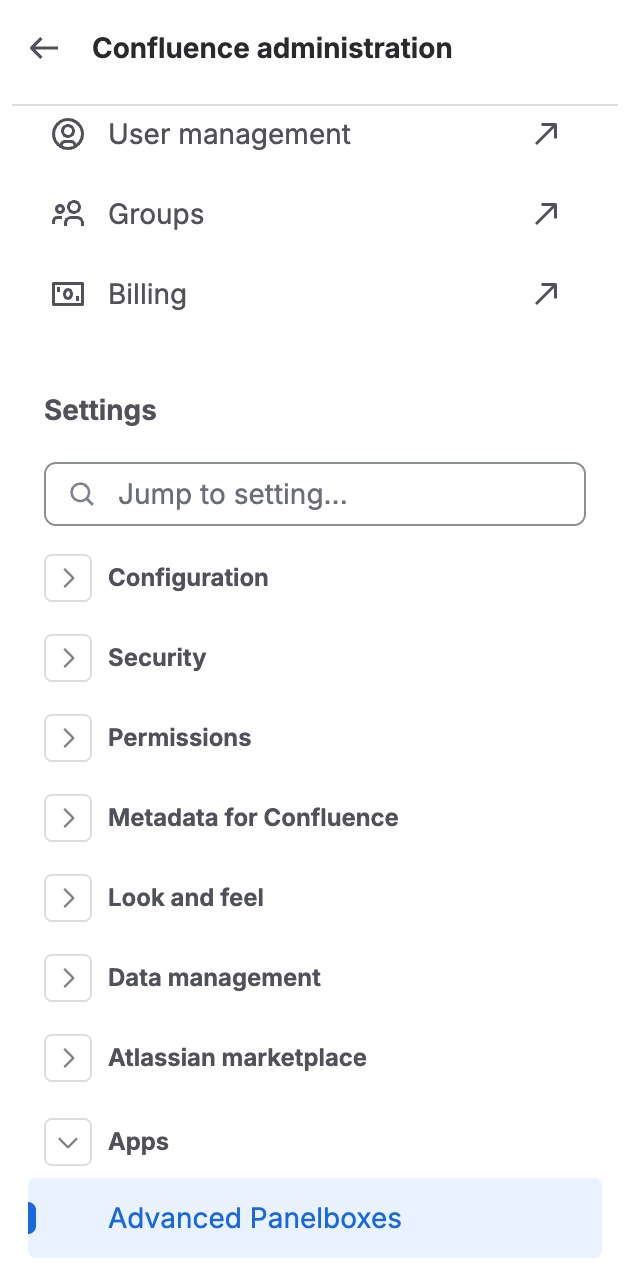
1. In Confluence Administration, go to Apps and select Advanced Panelboxes to access the settings.
-
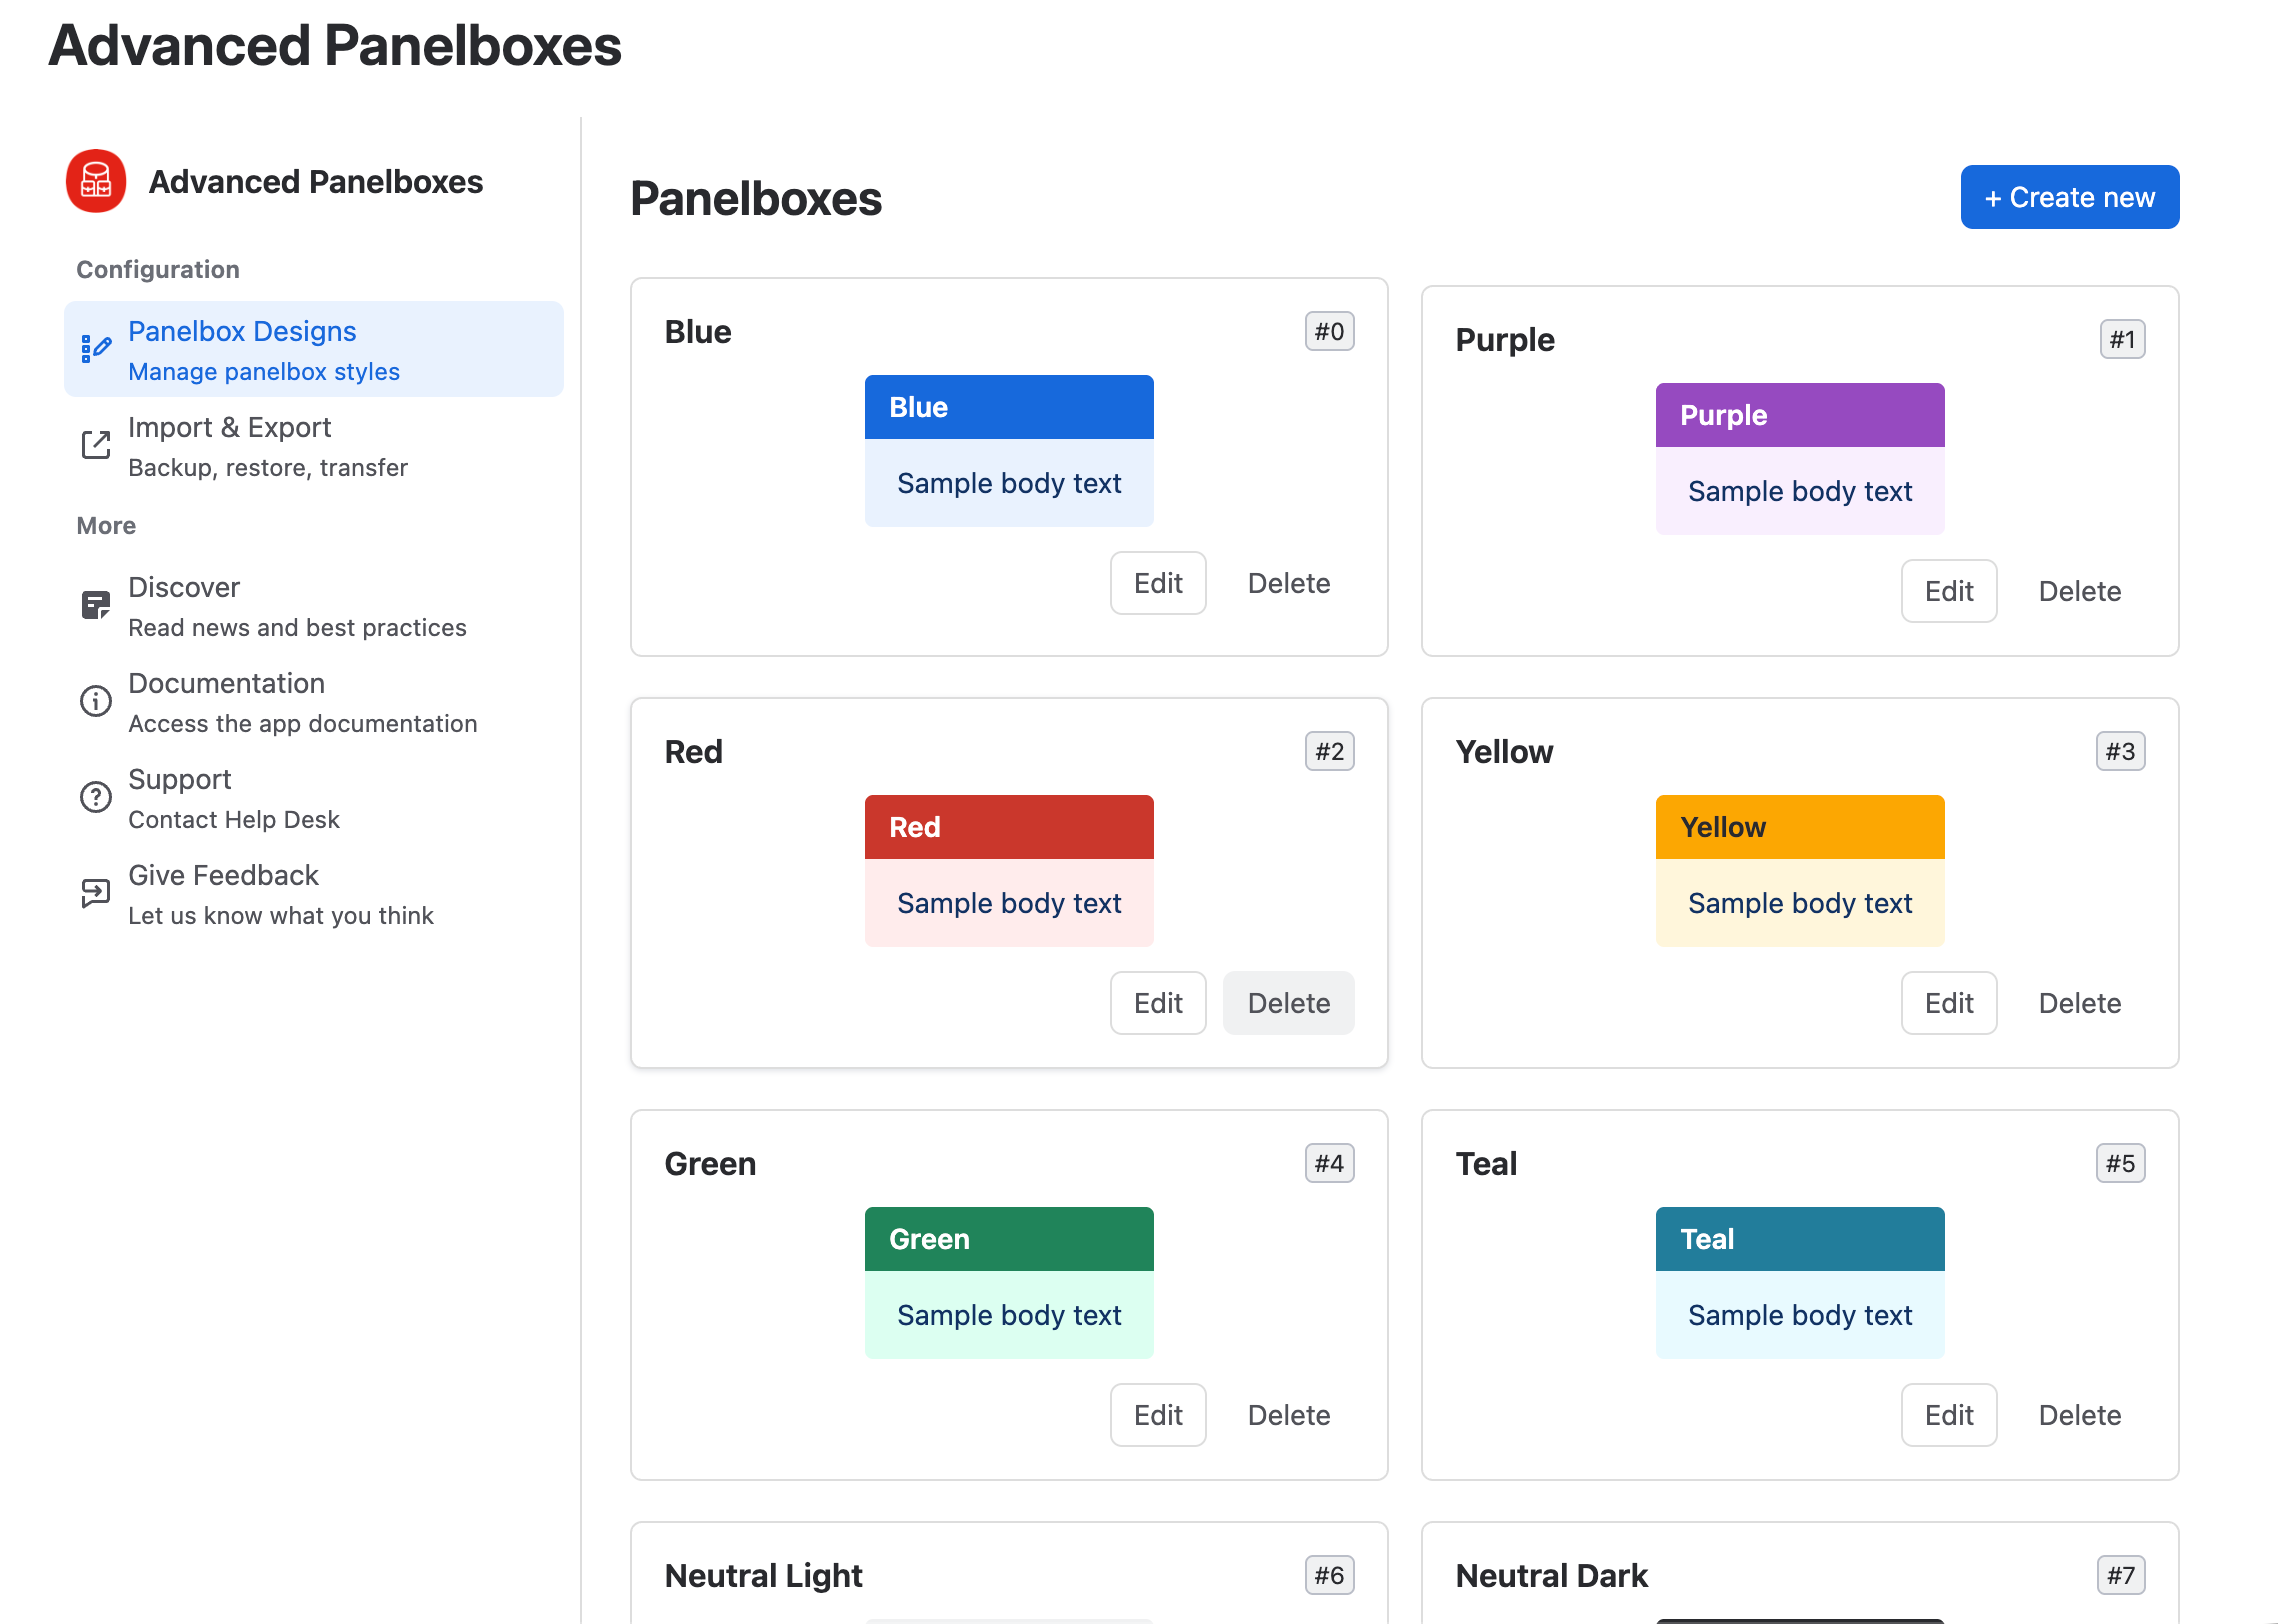
You will now see a list of the existing Panelbox designs. These were created when installing the app.
Change a design
-
Click on the Edit link on the right side of the design you want to change:
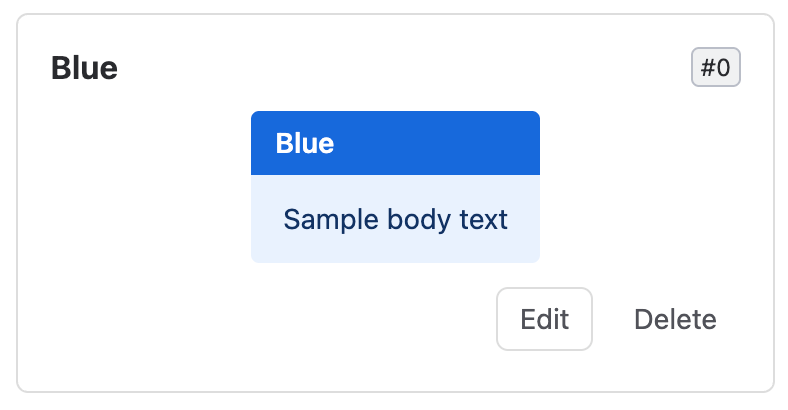
Edit Panelbox -
This will open an editor where you can personalize the Panelbox to your liking. You can change the Header, Body and Border of the panelbox.
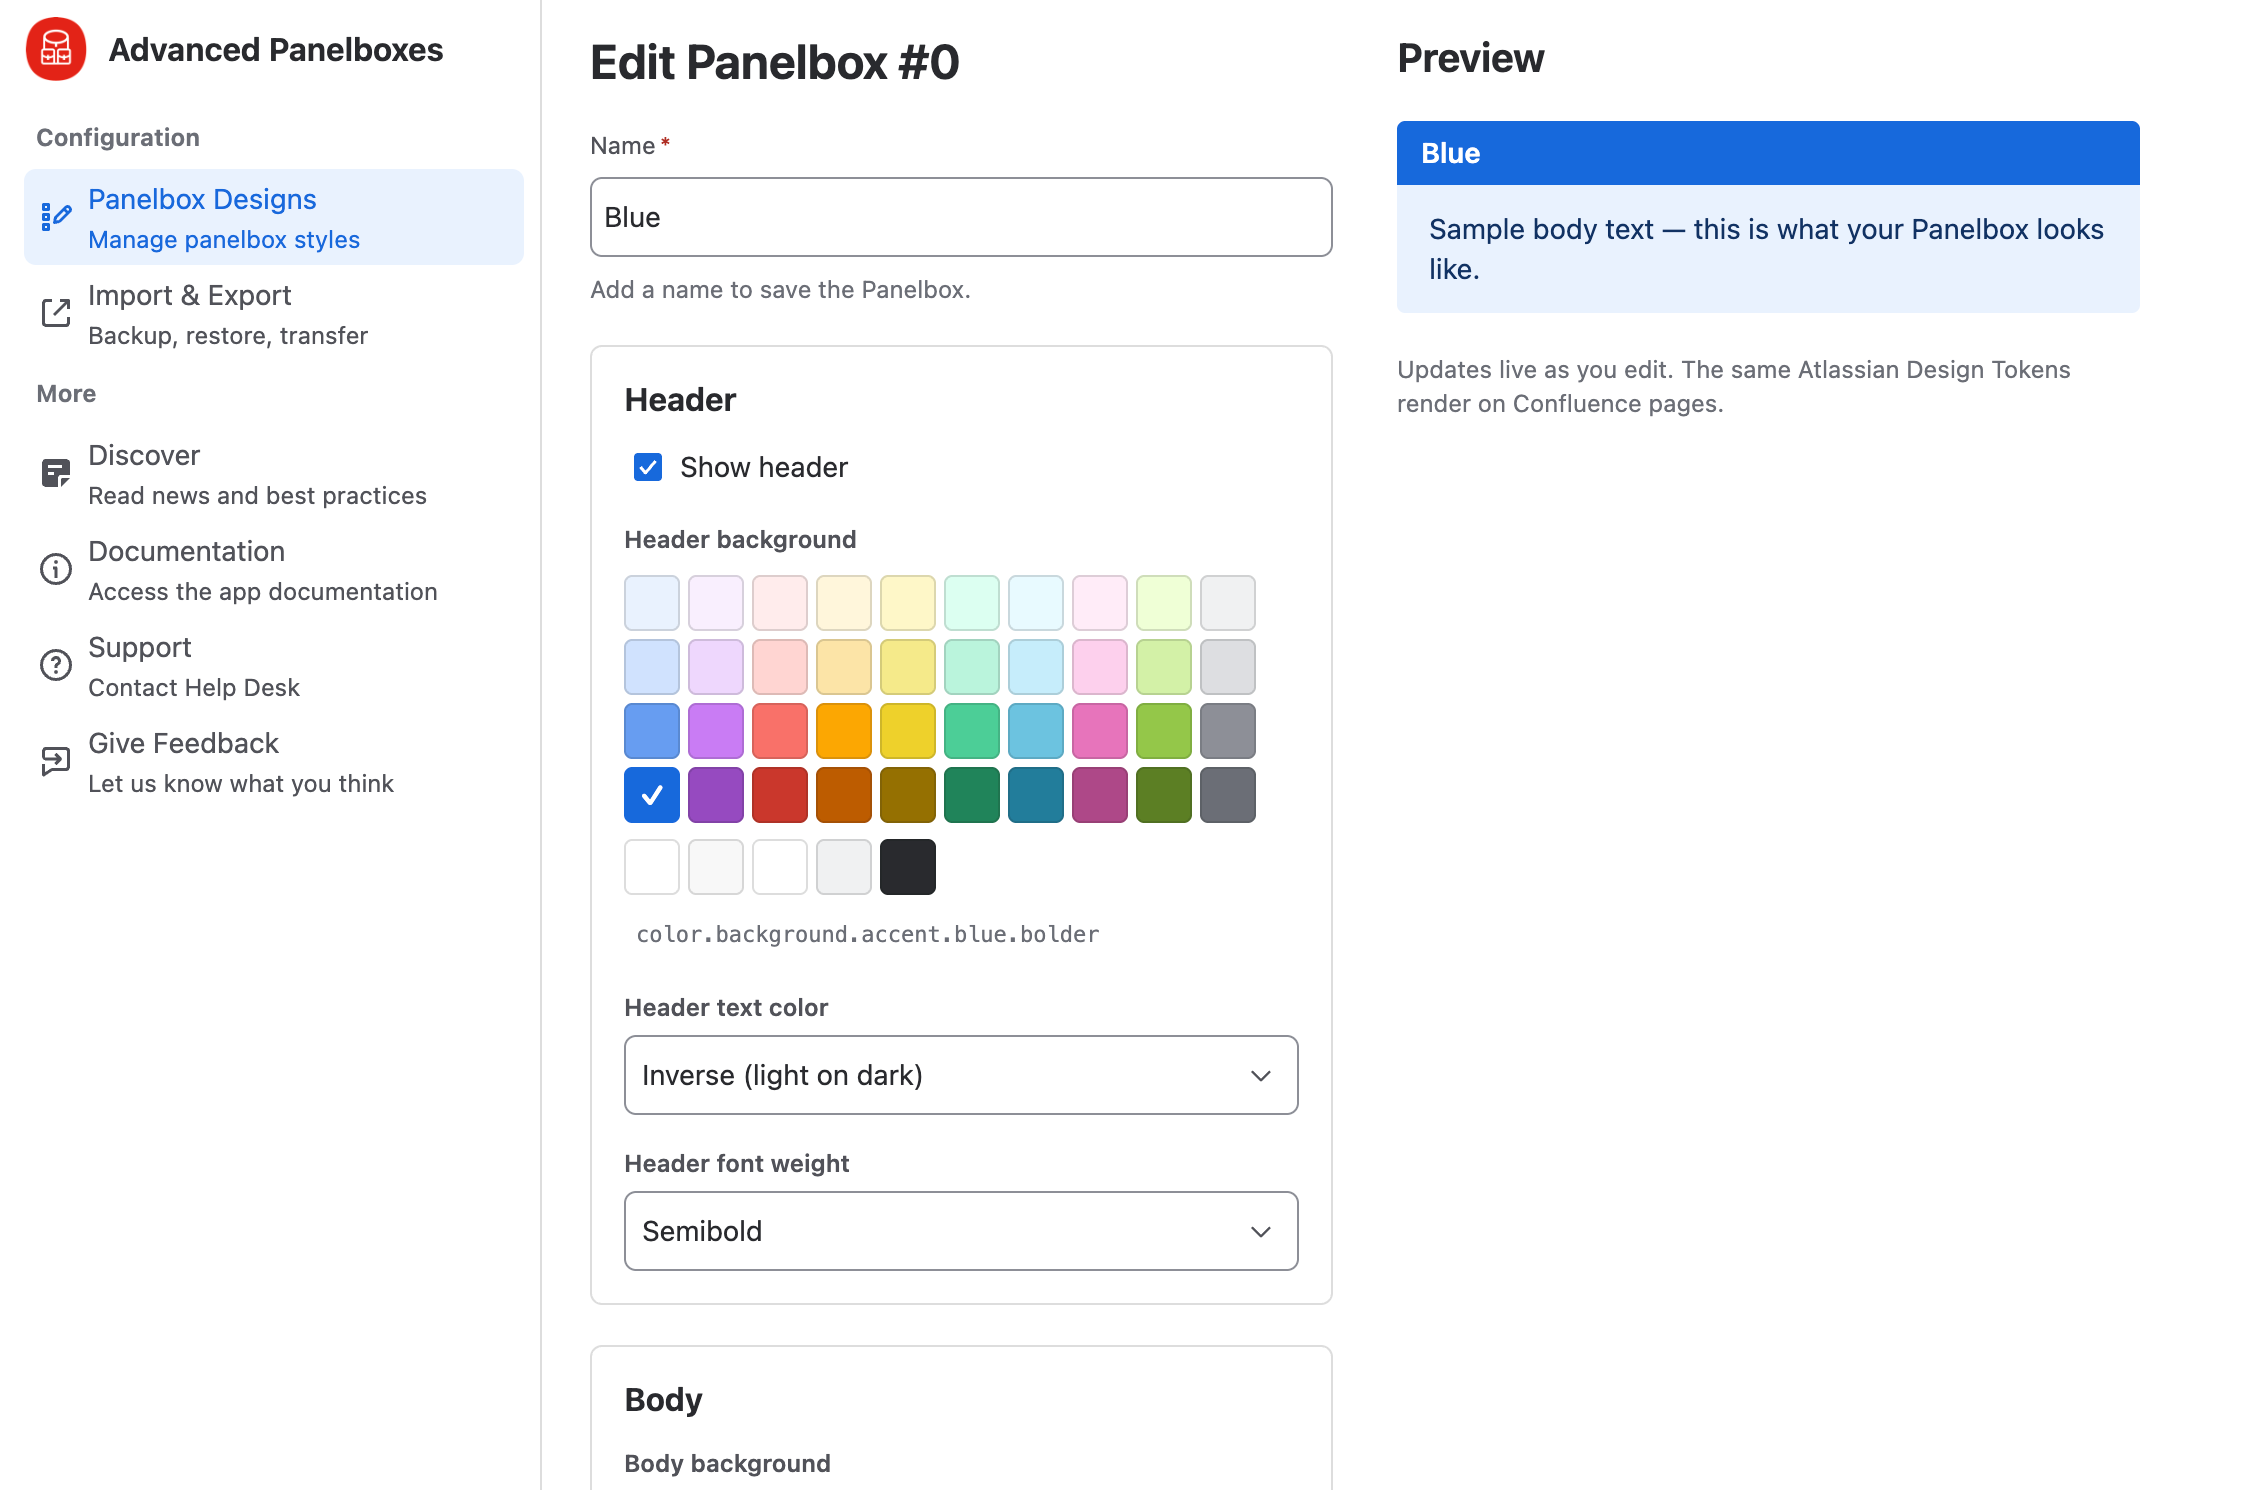
Panelbox editor -
After making changes, you can click Save changes.
-
The new settings will apply to all Panelboxes named like the panel you edited. No need to edit dozens of pages once a setting changes.
Changing a design changes already published Panelboxes on different pages!
Adding a new Panelbox design
-
You can also create new Panelboxes by clicking Create new in the top right.
-
This will open the same editor as when editing a Panelbox; add a name and add properties (color, border style)
-
When you are happy with the preview, click Create Panelbox.
-
You can now use your new Panelbox anywhere in your Confluence instance.
Remove a design
Click Delete next to the design you want to remove.
Panels that use a removed design keep working, but they fall back to another design from the list. A panel that used your warning colors may appear in a different color afterward on pages you do not own. Check where a design is in use before you remove it.
Related tasks
-
Import and export panel designs to move a design set between instances.
-
Insert a Panelbox to see what authors do with your designs.