
TUTORIAL 6 OF 6 15 MIN INTERMEDIATE SPACE ADMIN
When you close a work item, its attachments move to its SharePoint folder and are removed from Jira. Your team works with attachments in Jira as usual, and SharePoint keeps them once the work is done.
This tutorial combines the branch from Copy attachments from new work items with the close trigger from Clean up empty folders, and hands the result to Jira’s own Delete attachments action.
What you’ll learn
-
Move attachments to SharePoint when work is done
-
Pass an upload result to a native Jira action
-
Remove only what reached SharePoint
Outcome: When you close a work item, its attachments are archived in its SharePoint folder and removed from Jira.
Before you start
Duplicate names: If a work item has two attachments with the same name, Jira removes both, but SharePoint keeps only the last one. Rename duplicates before closing the work item.
Rule at a glance
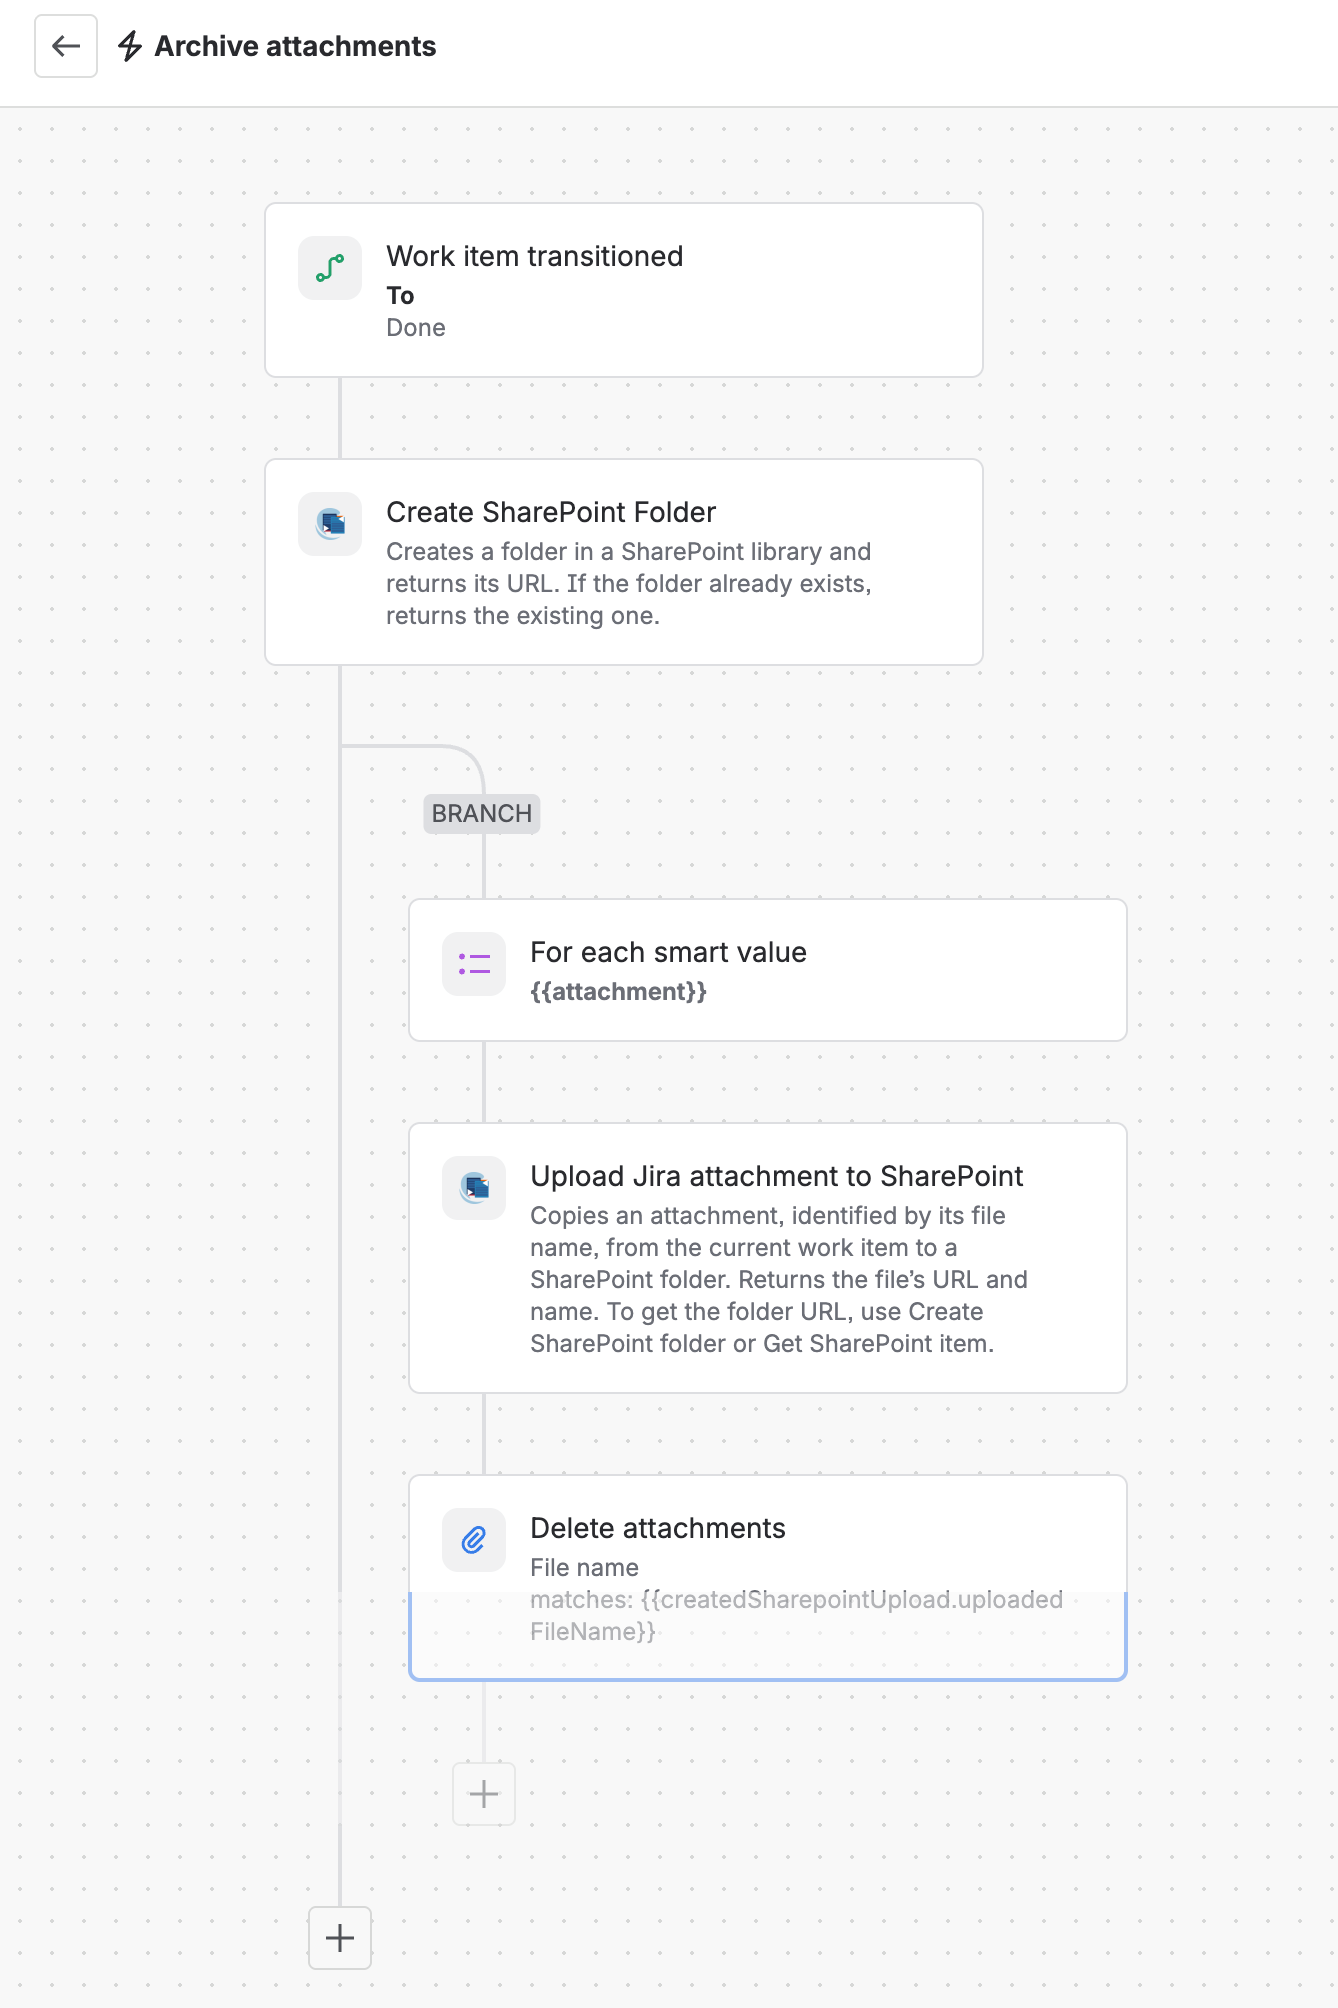
-
TRIGGER Work item transitioned to Done
-
ACTION Create SharePoint folder
-
BRANCH For each attachment in
{{issue.attachment}}-
ACTION Upload Jira attachment to SharePoint
-
ACTION Delete attachments
-
Step-by-step setup
1. Create the rule
Go to Space settings > Automation, then select Create flow. Choose Create from scratch.
2. Add the trigger
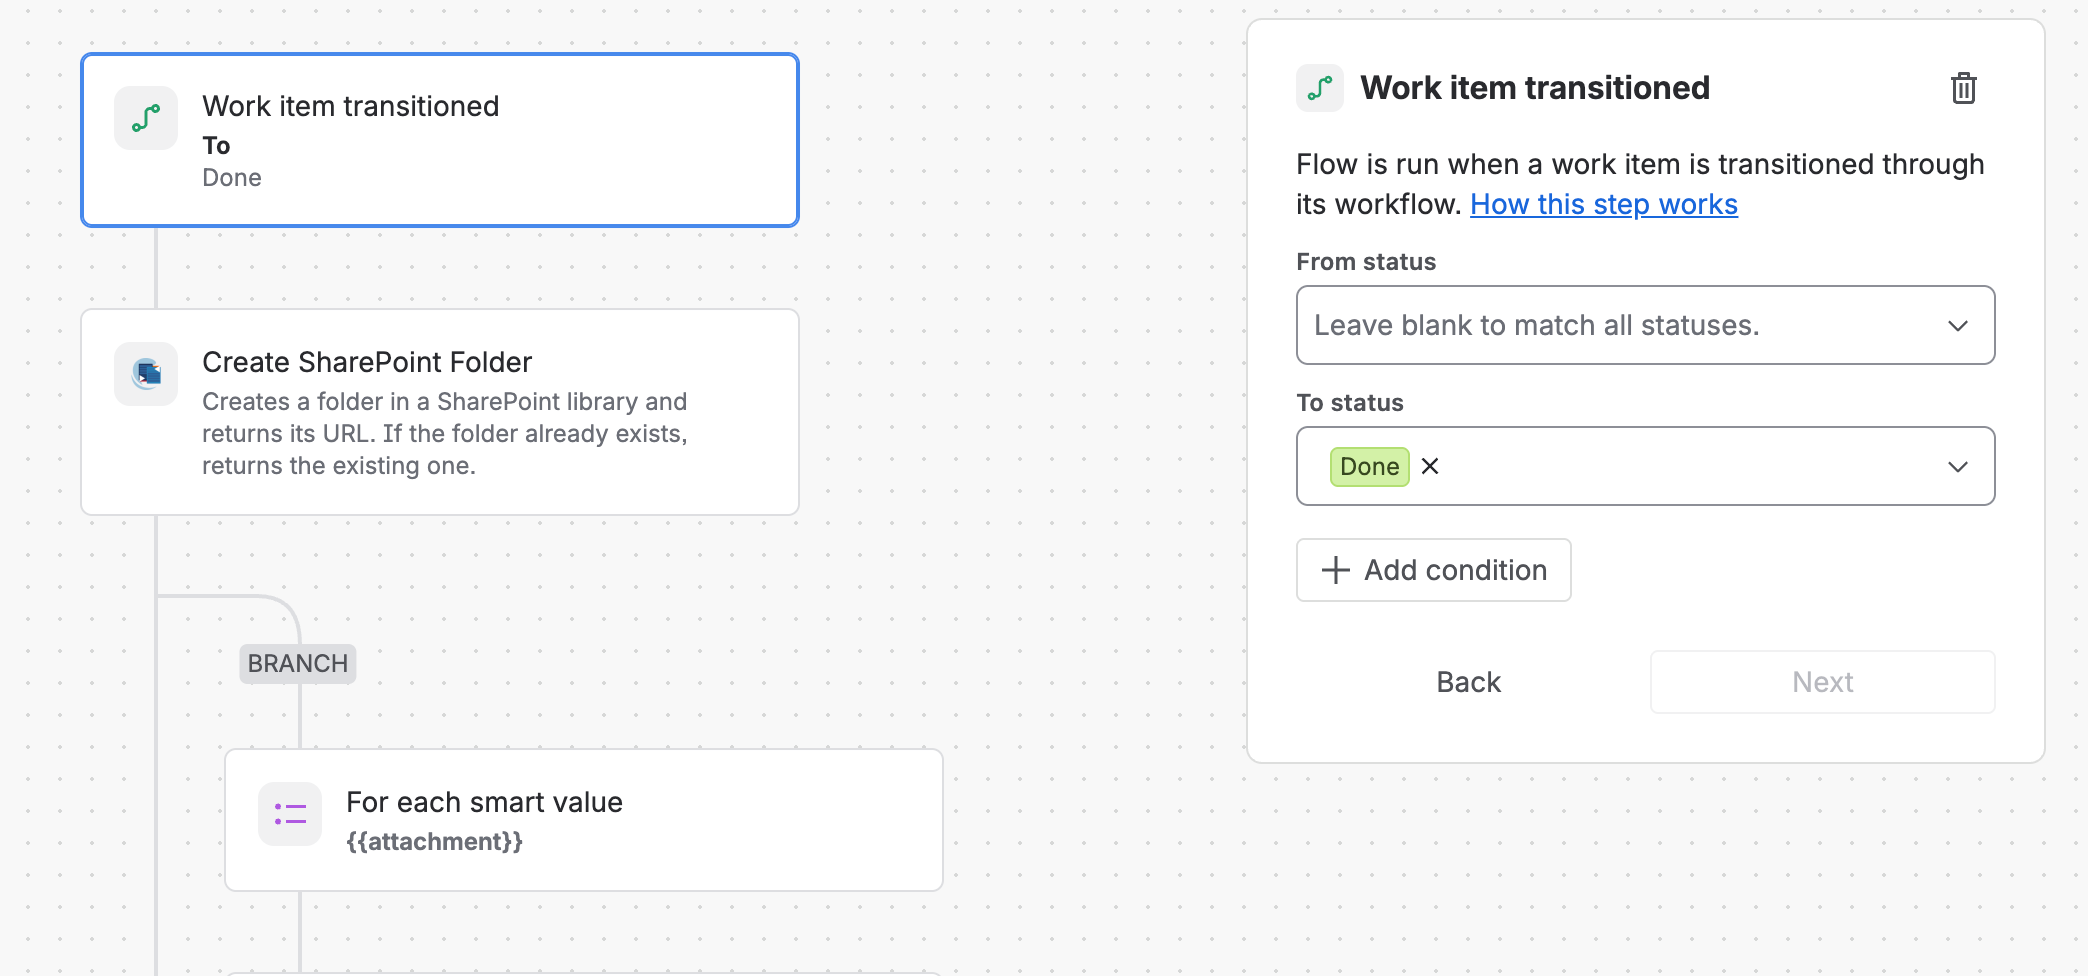
Select the Work item transitioned trigger and set To status to Done, or your own closing status.
3. Find or create the folder
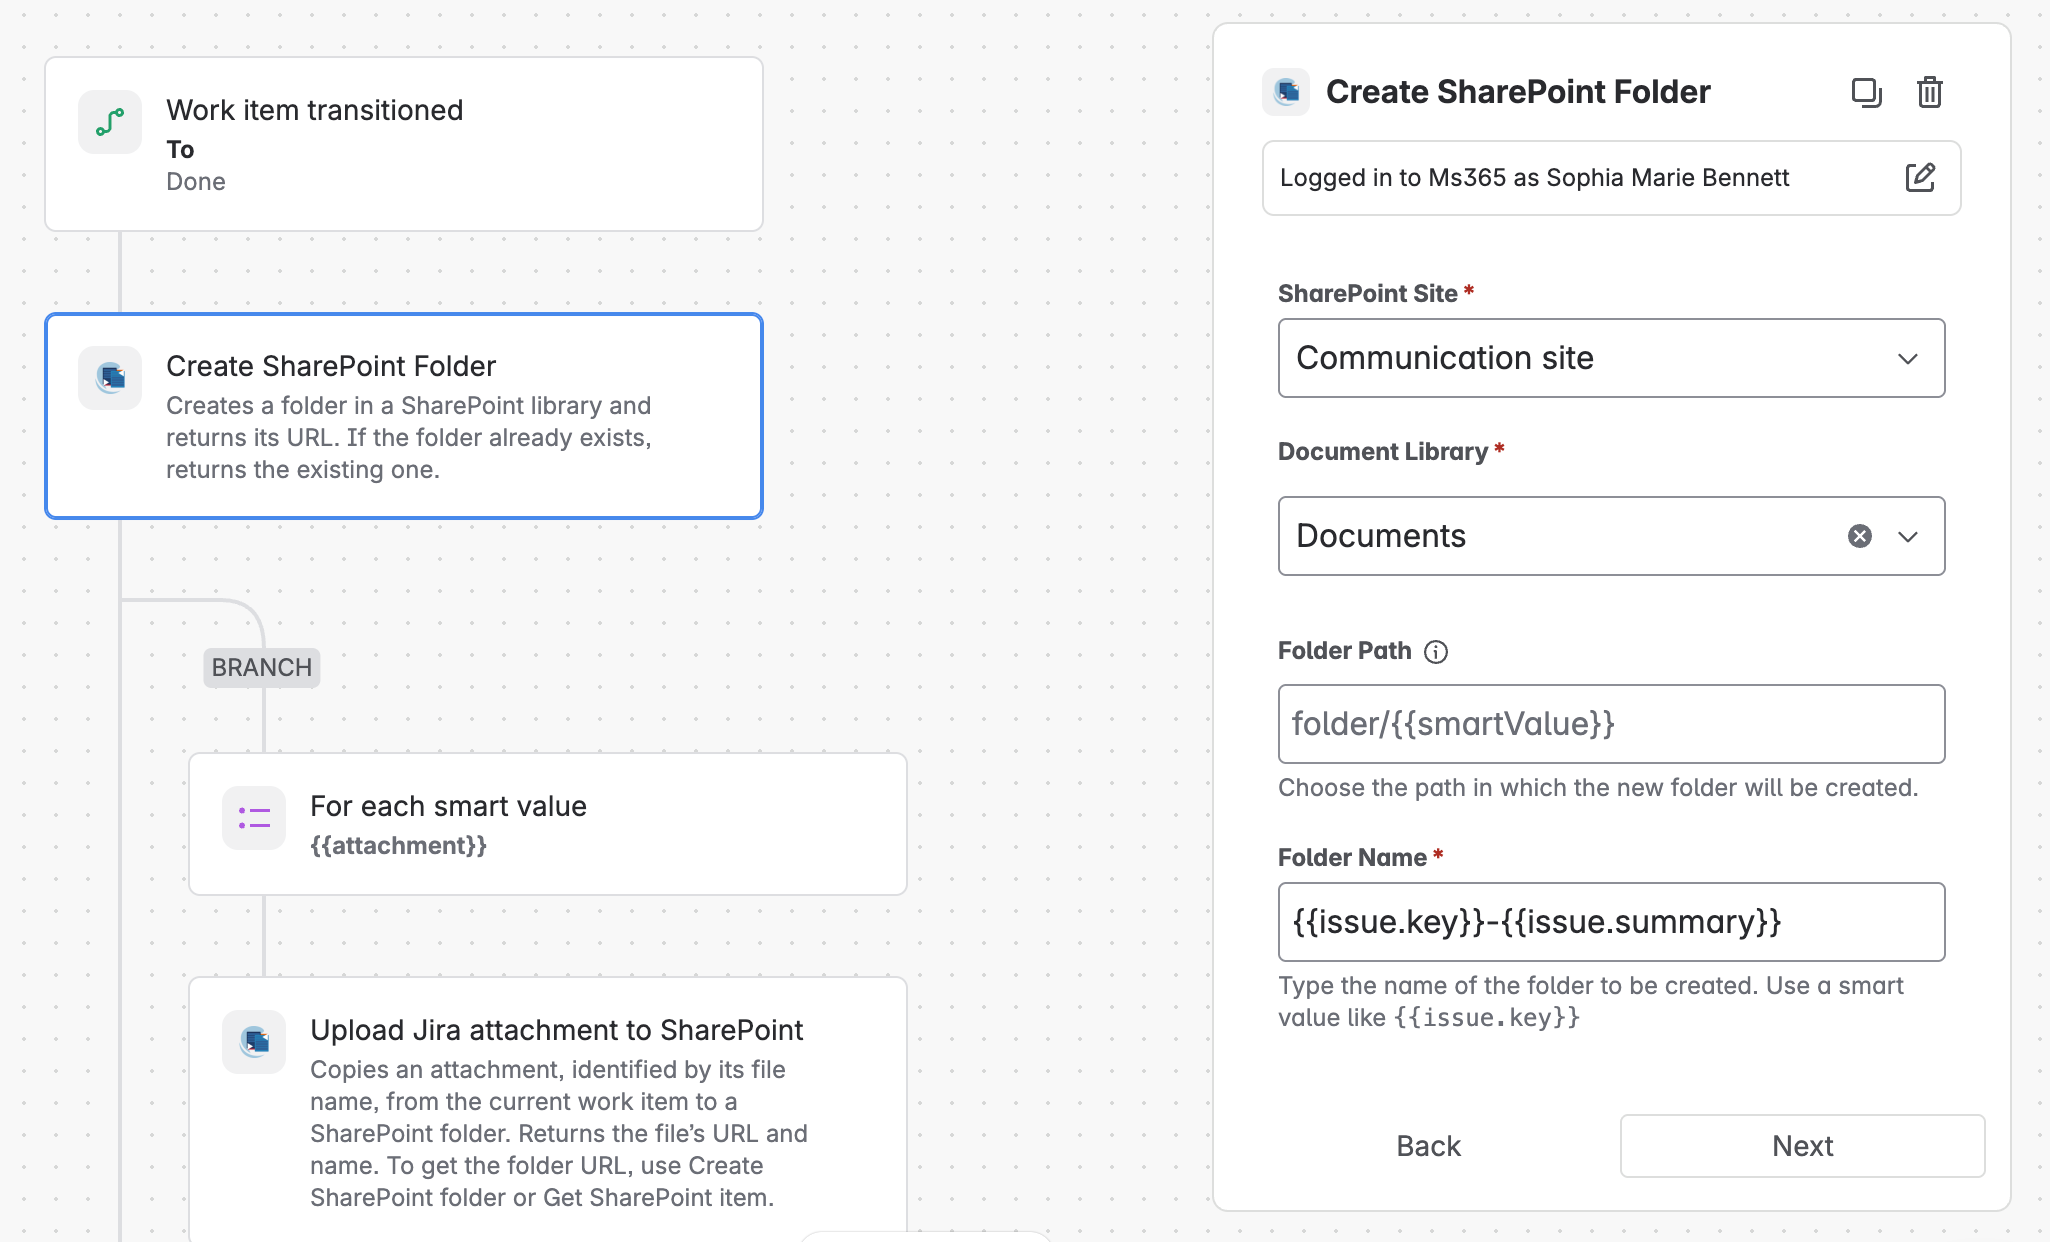
Add the action Create SharePoint folder and fill in the fields.
|
Field |
Value |
|---|---|
|
Site |
Your SharePoint site |
|
Document library |
Your document library |
|
Folder path |
Optional, for example, |
|
Folder name |
|
Create SharePoint folder returns the existing folder if one exists, so work items without a folder get one now. Use the same folder path and name as in A SharePoint folder for every new work item. Then the folder is already connected. Otherwise, add Connect SharePoint item to work item with {{createdSharepointItem.folderUrl}} after this step so your team can find the files in the SharePoint panel.
4. Go through all attachments
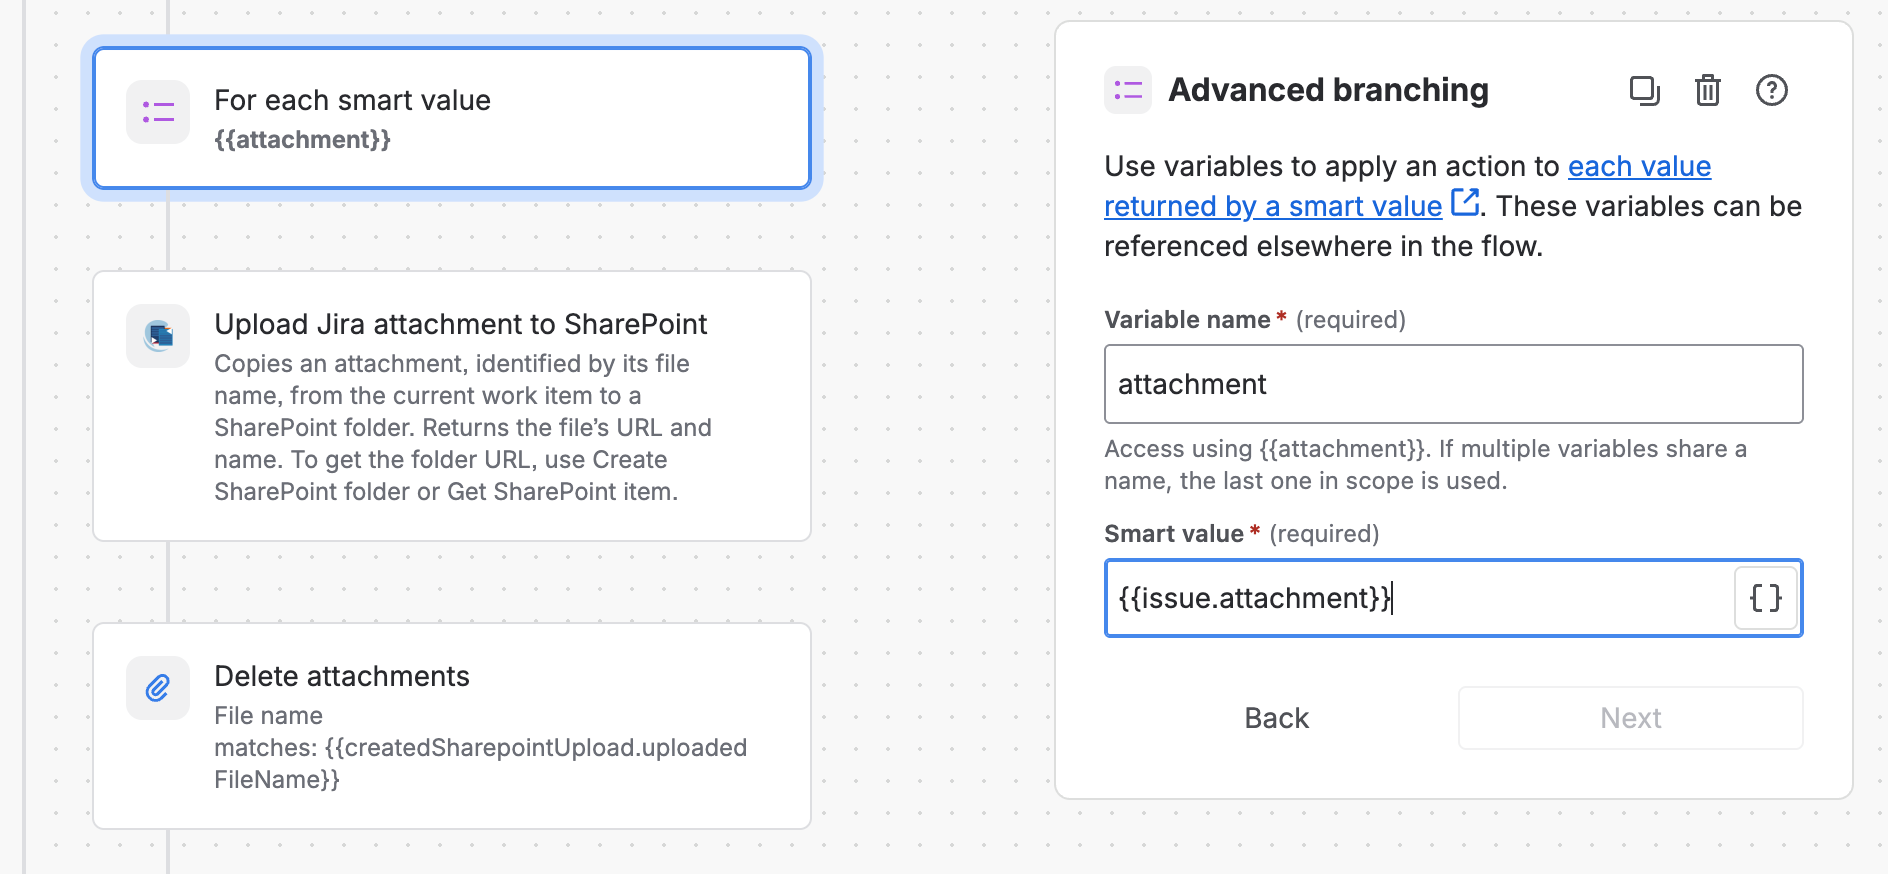
Add Branch > Advanced branching and fill in the fields.
|
Field |
Value |
|---|---|
|
Smart value |
|
|
Variable name |
|
The branch runs the next two steps once for each work item attachment.
5. Copy each attachment
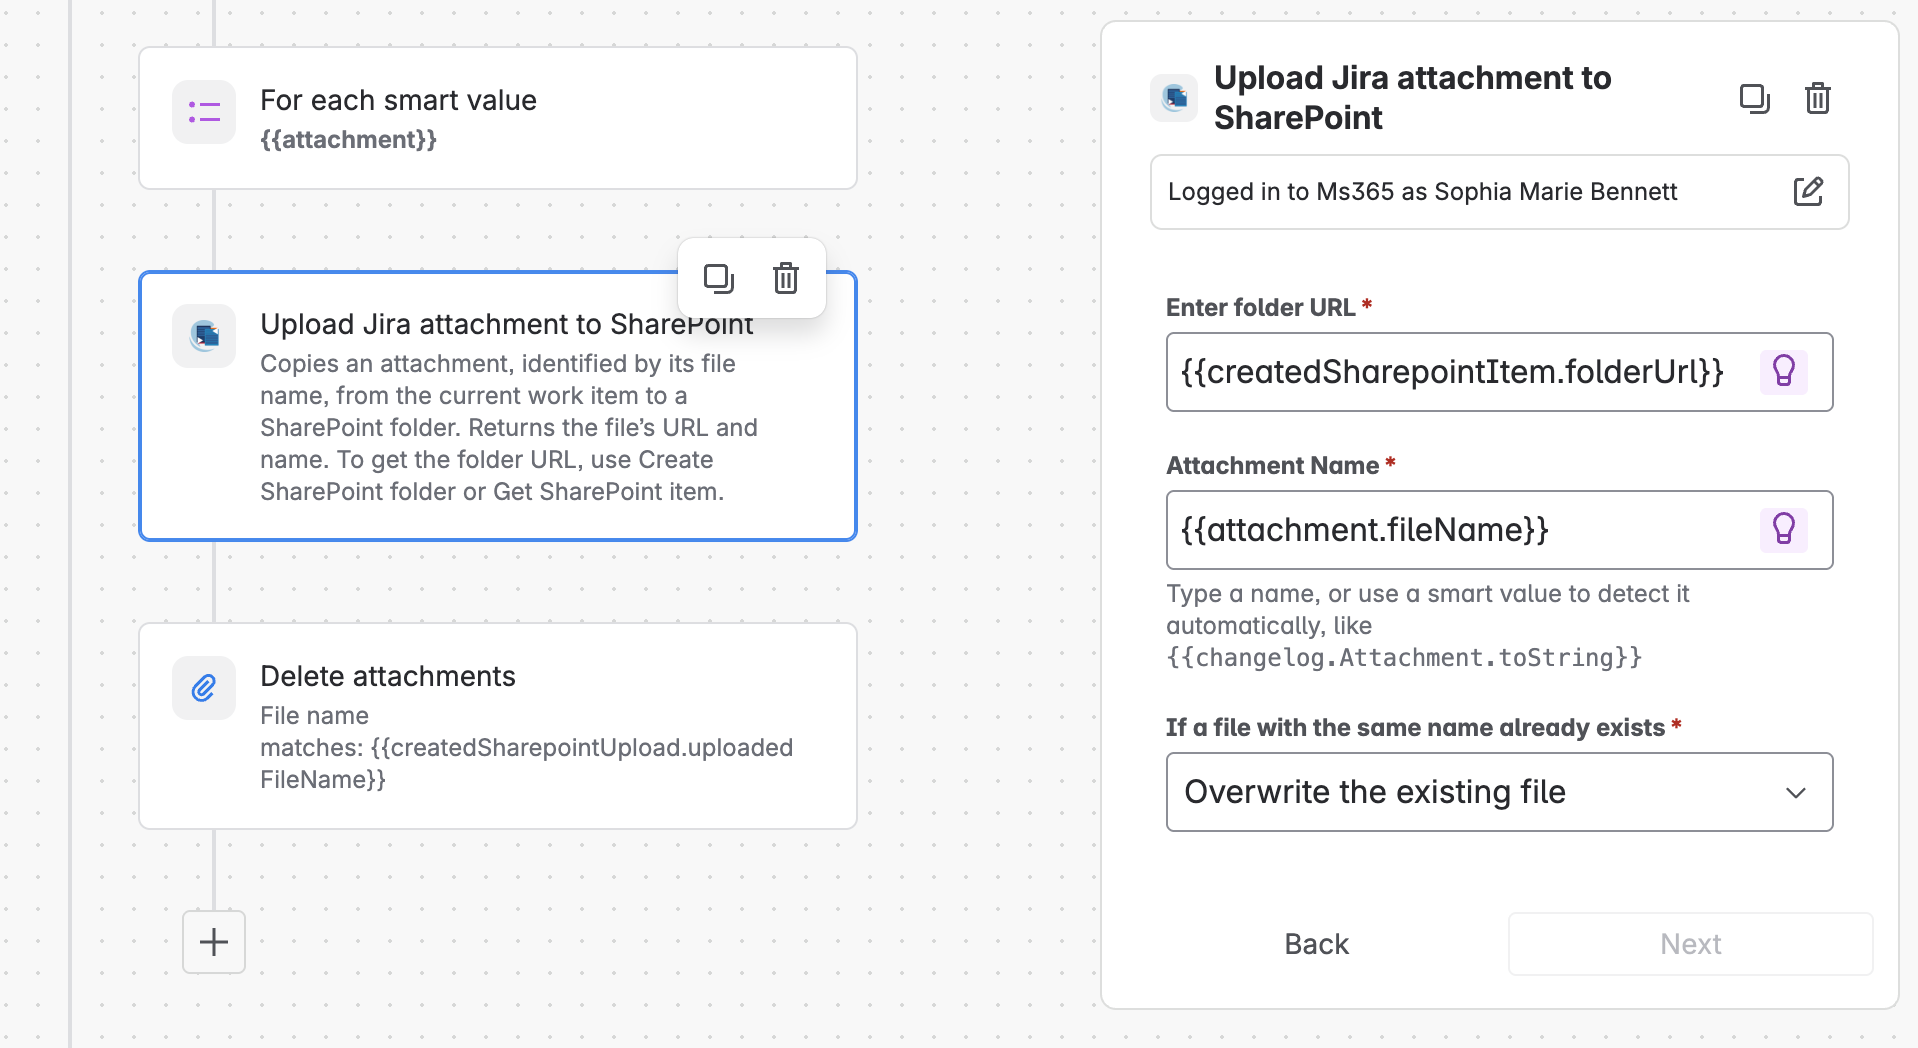
Inside the branch, add the action Upload Jira attachment to SharePoint and fill in the fields.
|
Field |
Value |
|---|---|
|
Location |
|
|
Attachment name |
|
|
Conflict behavior |
Overwrite |
Use Overwrite here. It keeps the file name in SharePoint identical to the name in Jira, so the next step removes the right attachment.
6. Remove it from Jira
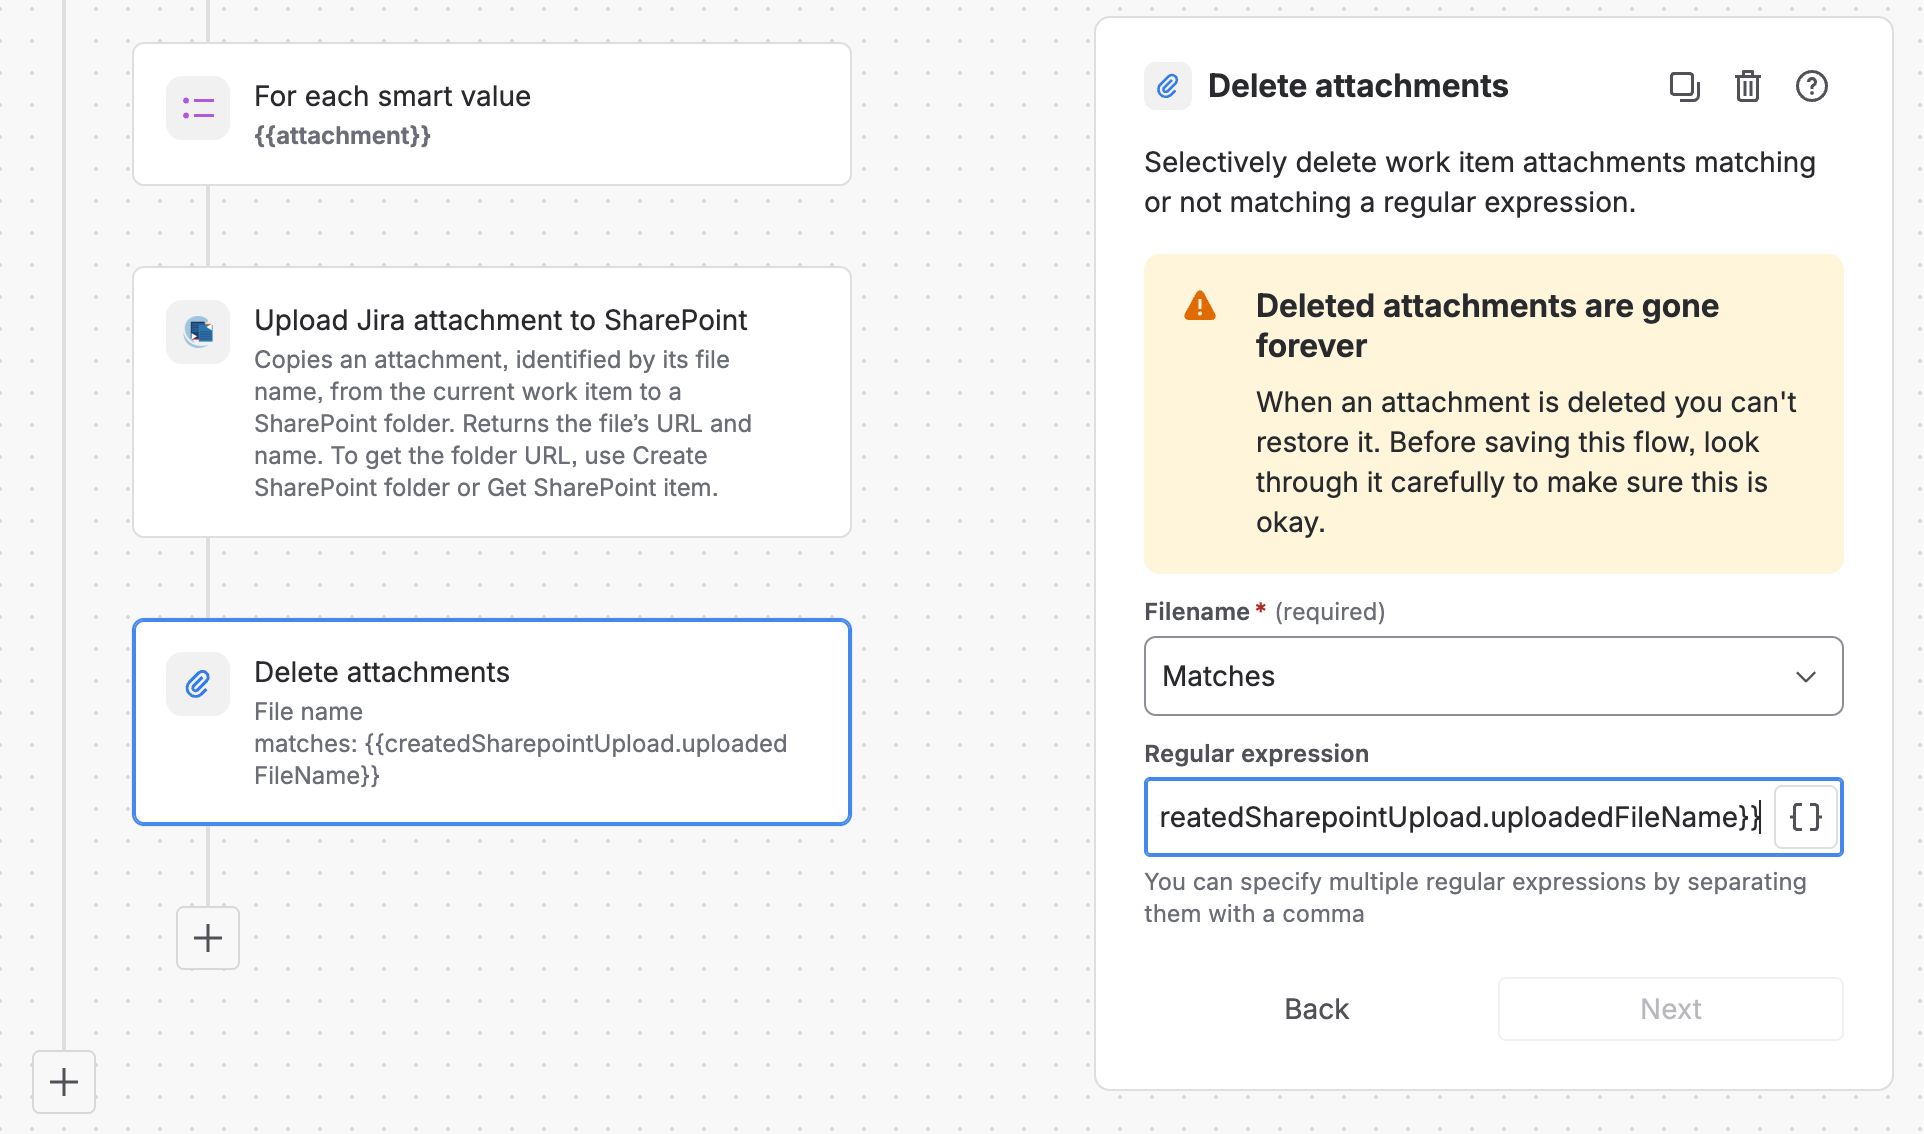
Inside the branch, after the upload, add Jira’s action Delete attachments and fill in the field.
|
Field |
Value |
|---|---|
|
File name |
|
Use the upload’s output instead of the Jira name. That way, you remove only files that actually reached SharePoint. If the upload fails, the rule stops before this step.
7. Turn it on
Name the rule, for example, Archive attachments, then turn it on.
Try it
Attach two files to a test work item and close it. Both files appear in the SharePoint folder and are gone from the work item’s attachments. If something doesn’t work, check the rule’s audit log.
Make it yours
|
Recipe |
Change |
|---|---|
|
FILTER Only certain file types |
Inside the branch, before the upload, add a Smart values condition that only lets PDF files through. As First value, use 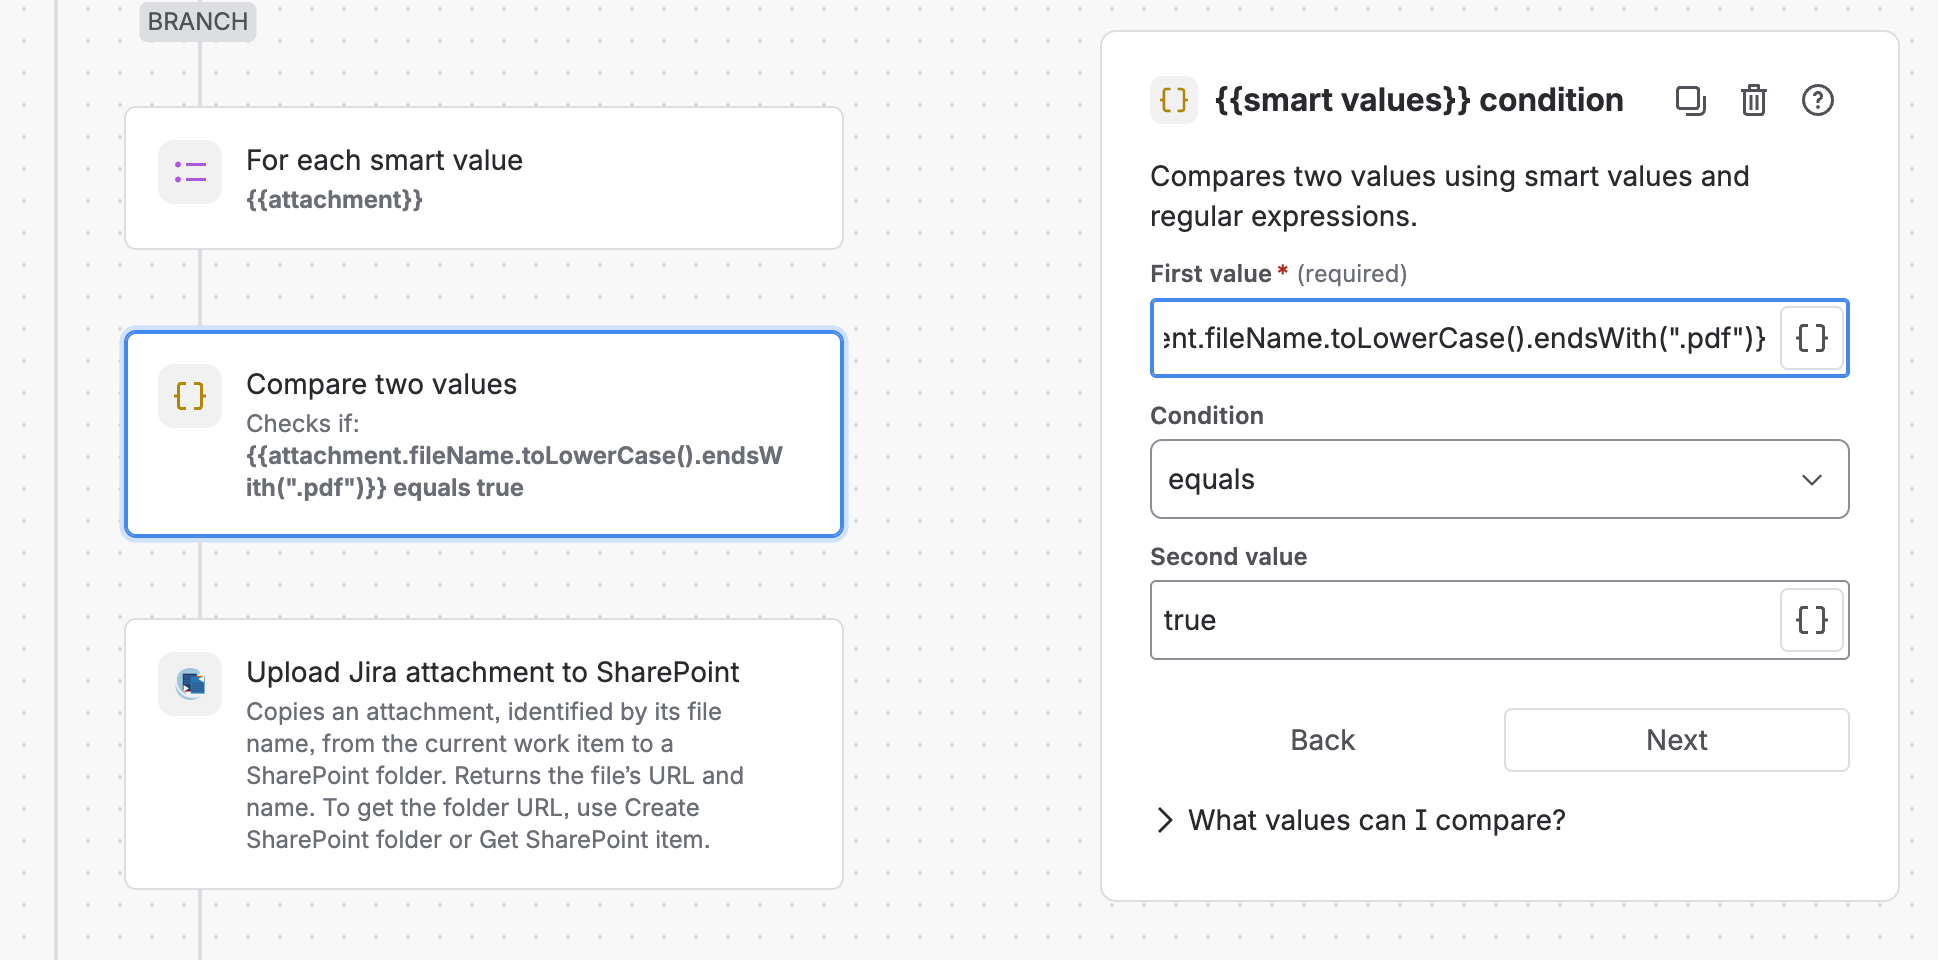
|
|
STATUS Other closing statuses |
Change To status, for example, to Cancelled, or select several statuses. |
|
COPY Keep the files in Jira too |
Remove step 6. The attachments are copied to SharePoint and stay on the work item. |